Welcome to the creative journey, where I will take you through the entire art process through the making of E.T. It's easy to think that all it takes is a quick drawing, but it's actually so much more than that, especially behind the scenes. Let me show you every single step.
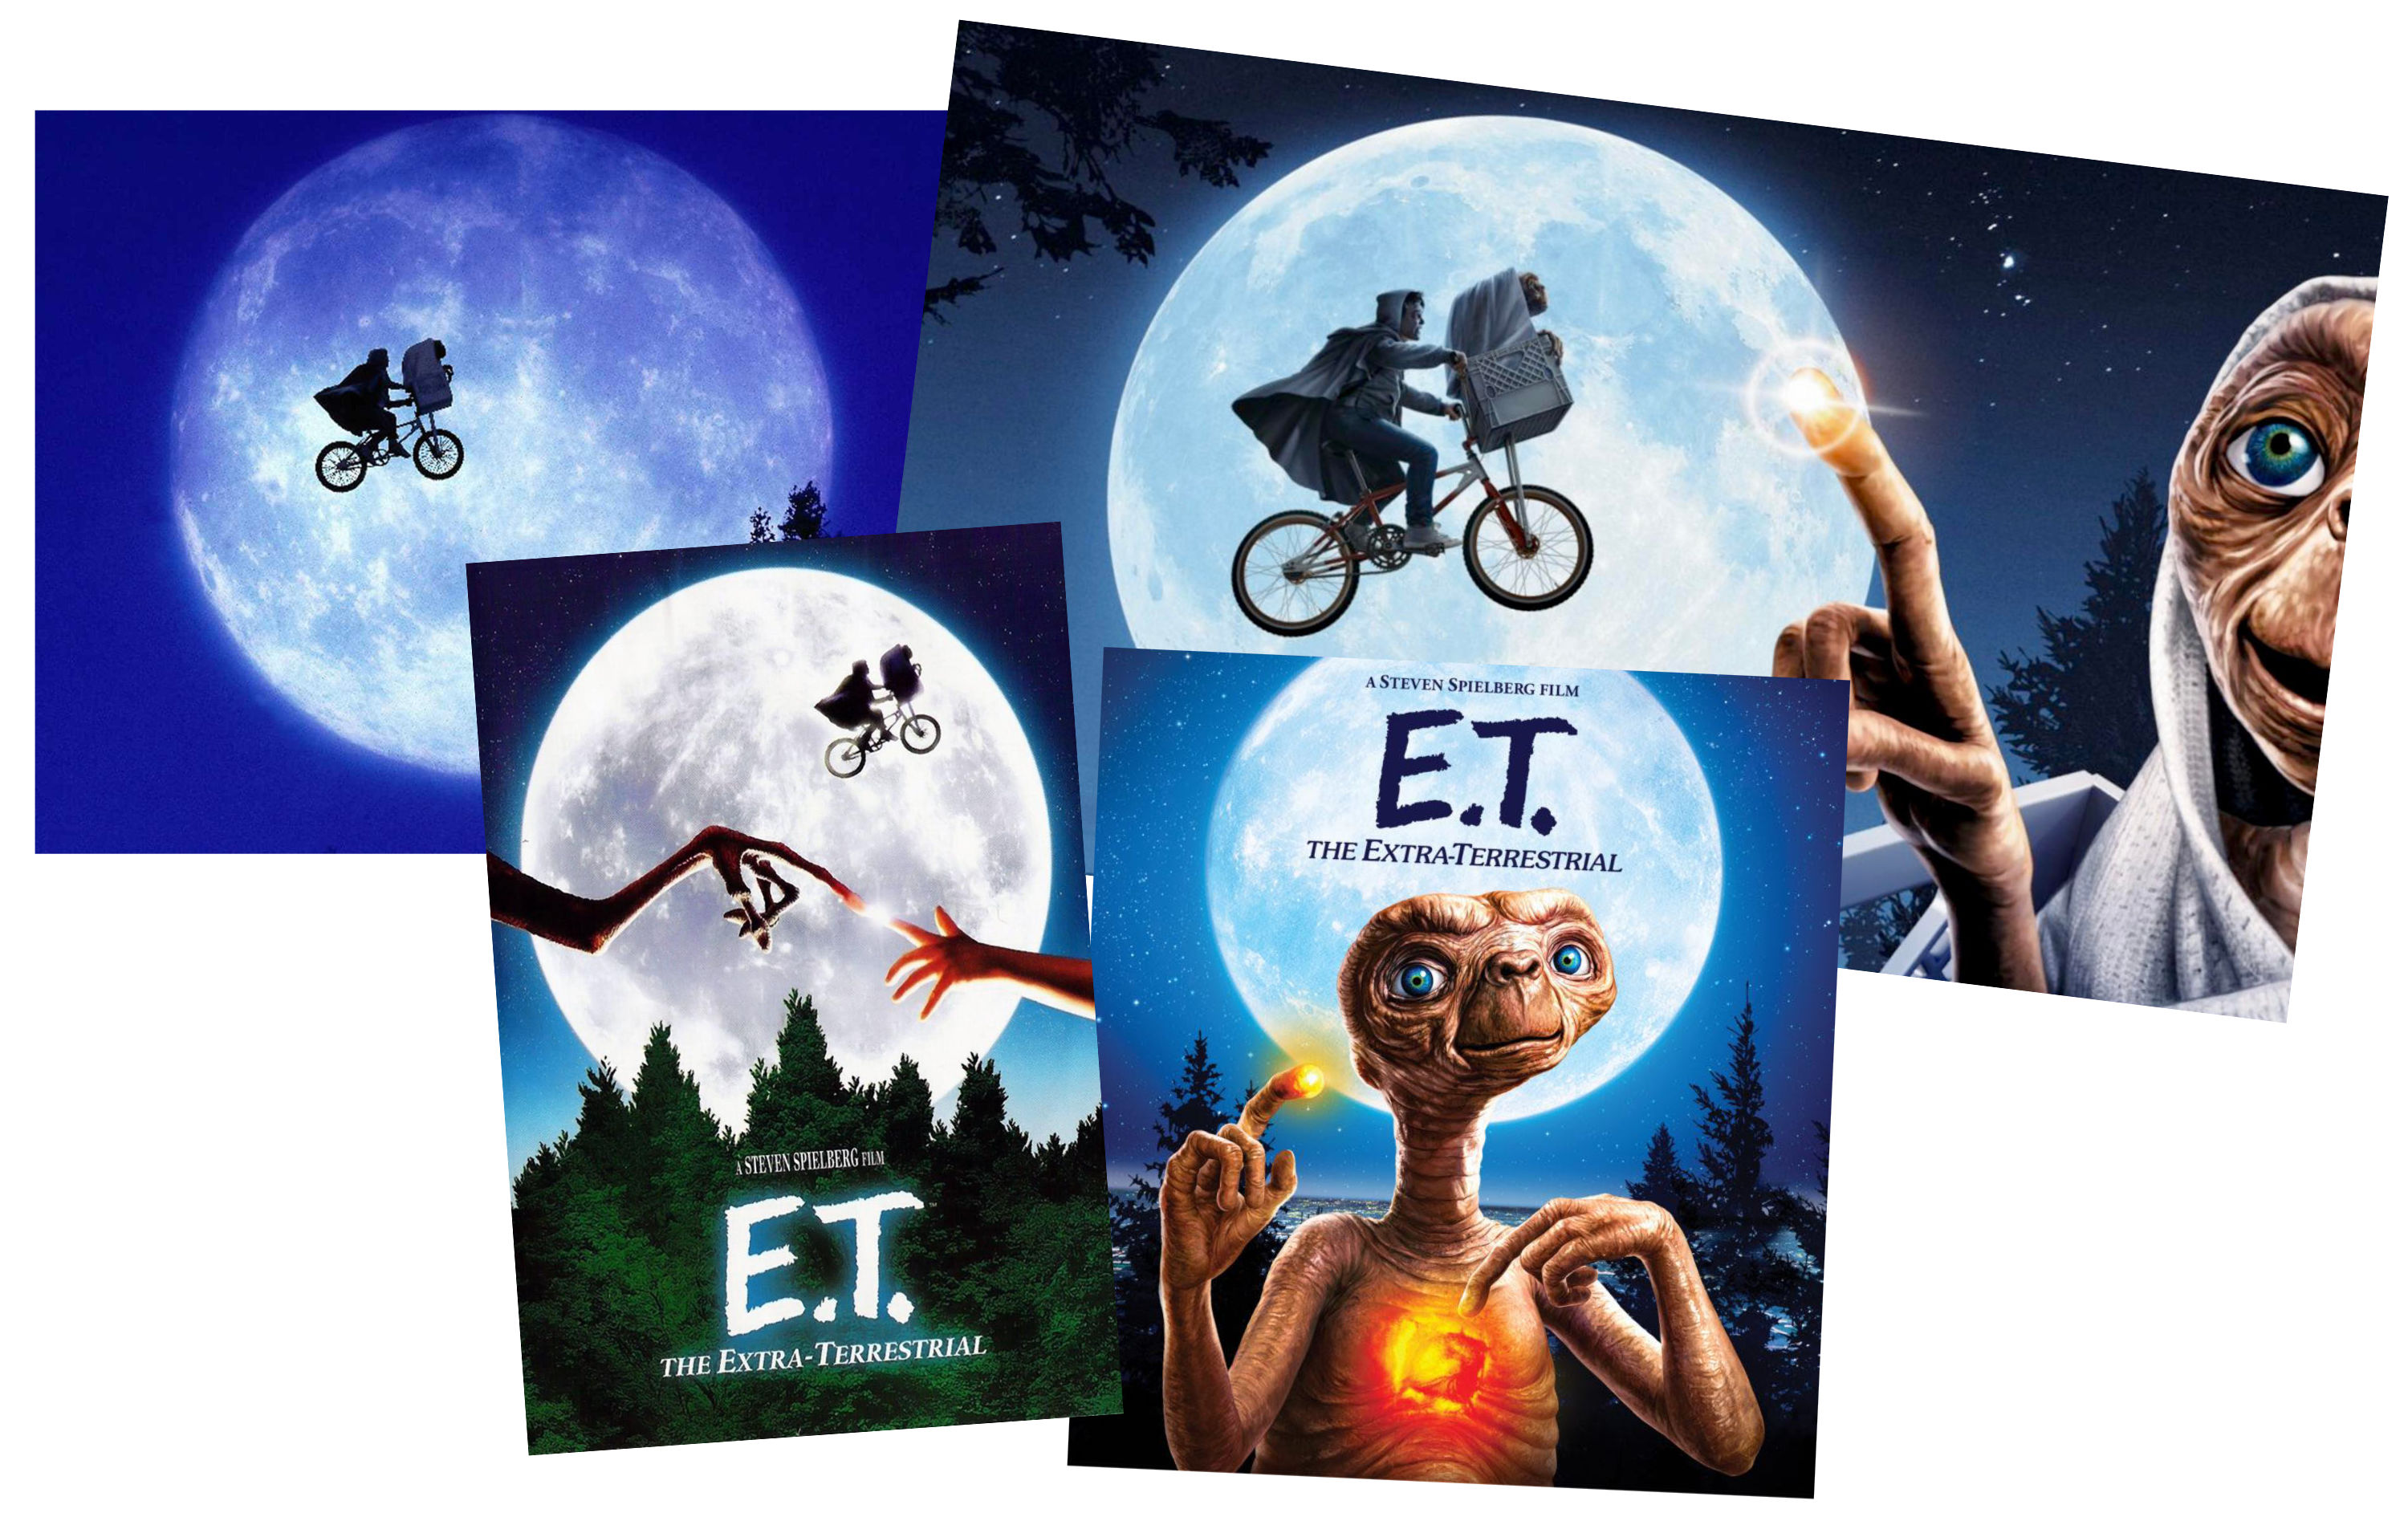
First of all after watching the movie I decided to add E.T. to my movie posters collection so I researched for some movie posters old and new, blue ray and dvd covers. After a lot of research I collected some reference photos of all kinds. I like looking at different images at once and sort of make a collage in my mind and form a concept. Once the finished drawing is ready in my head, then I can start sketching up the very first fine lines.
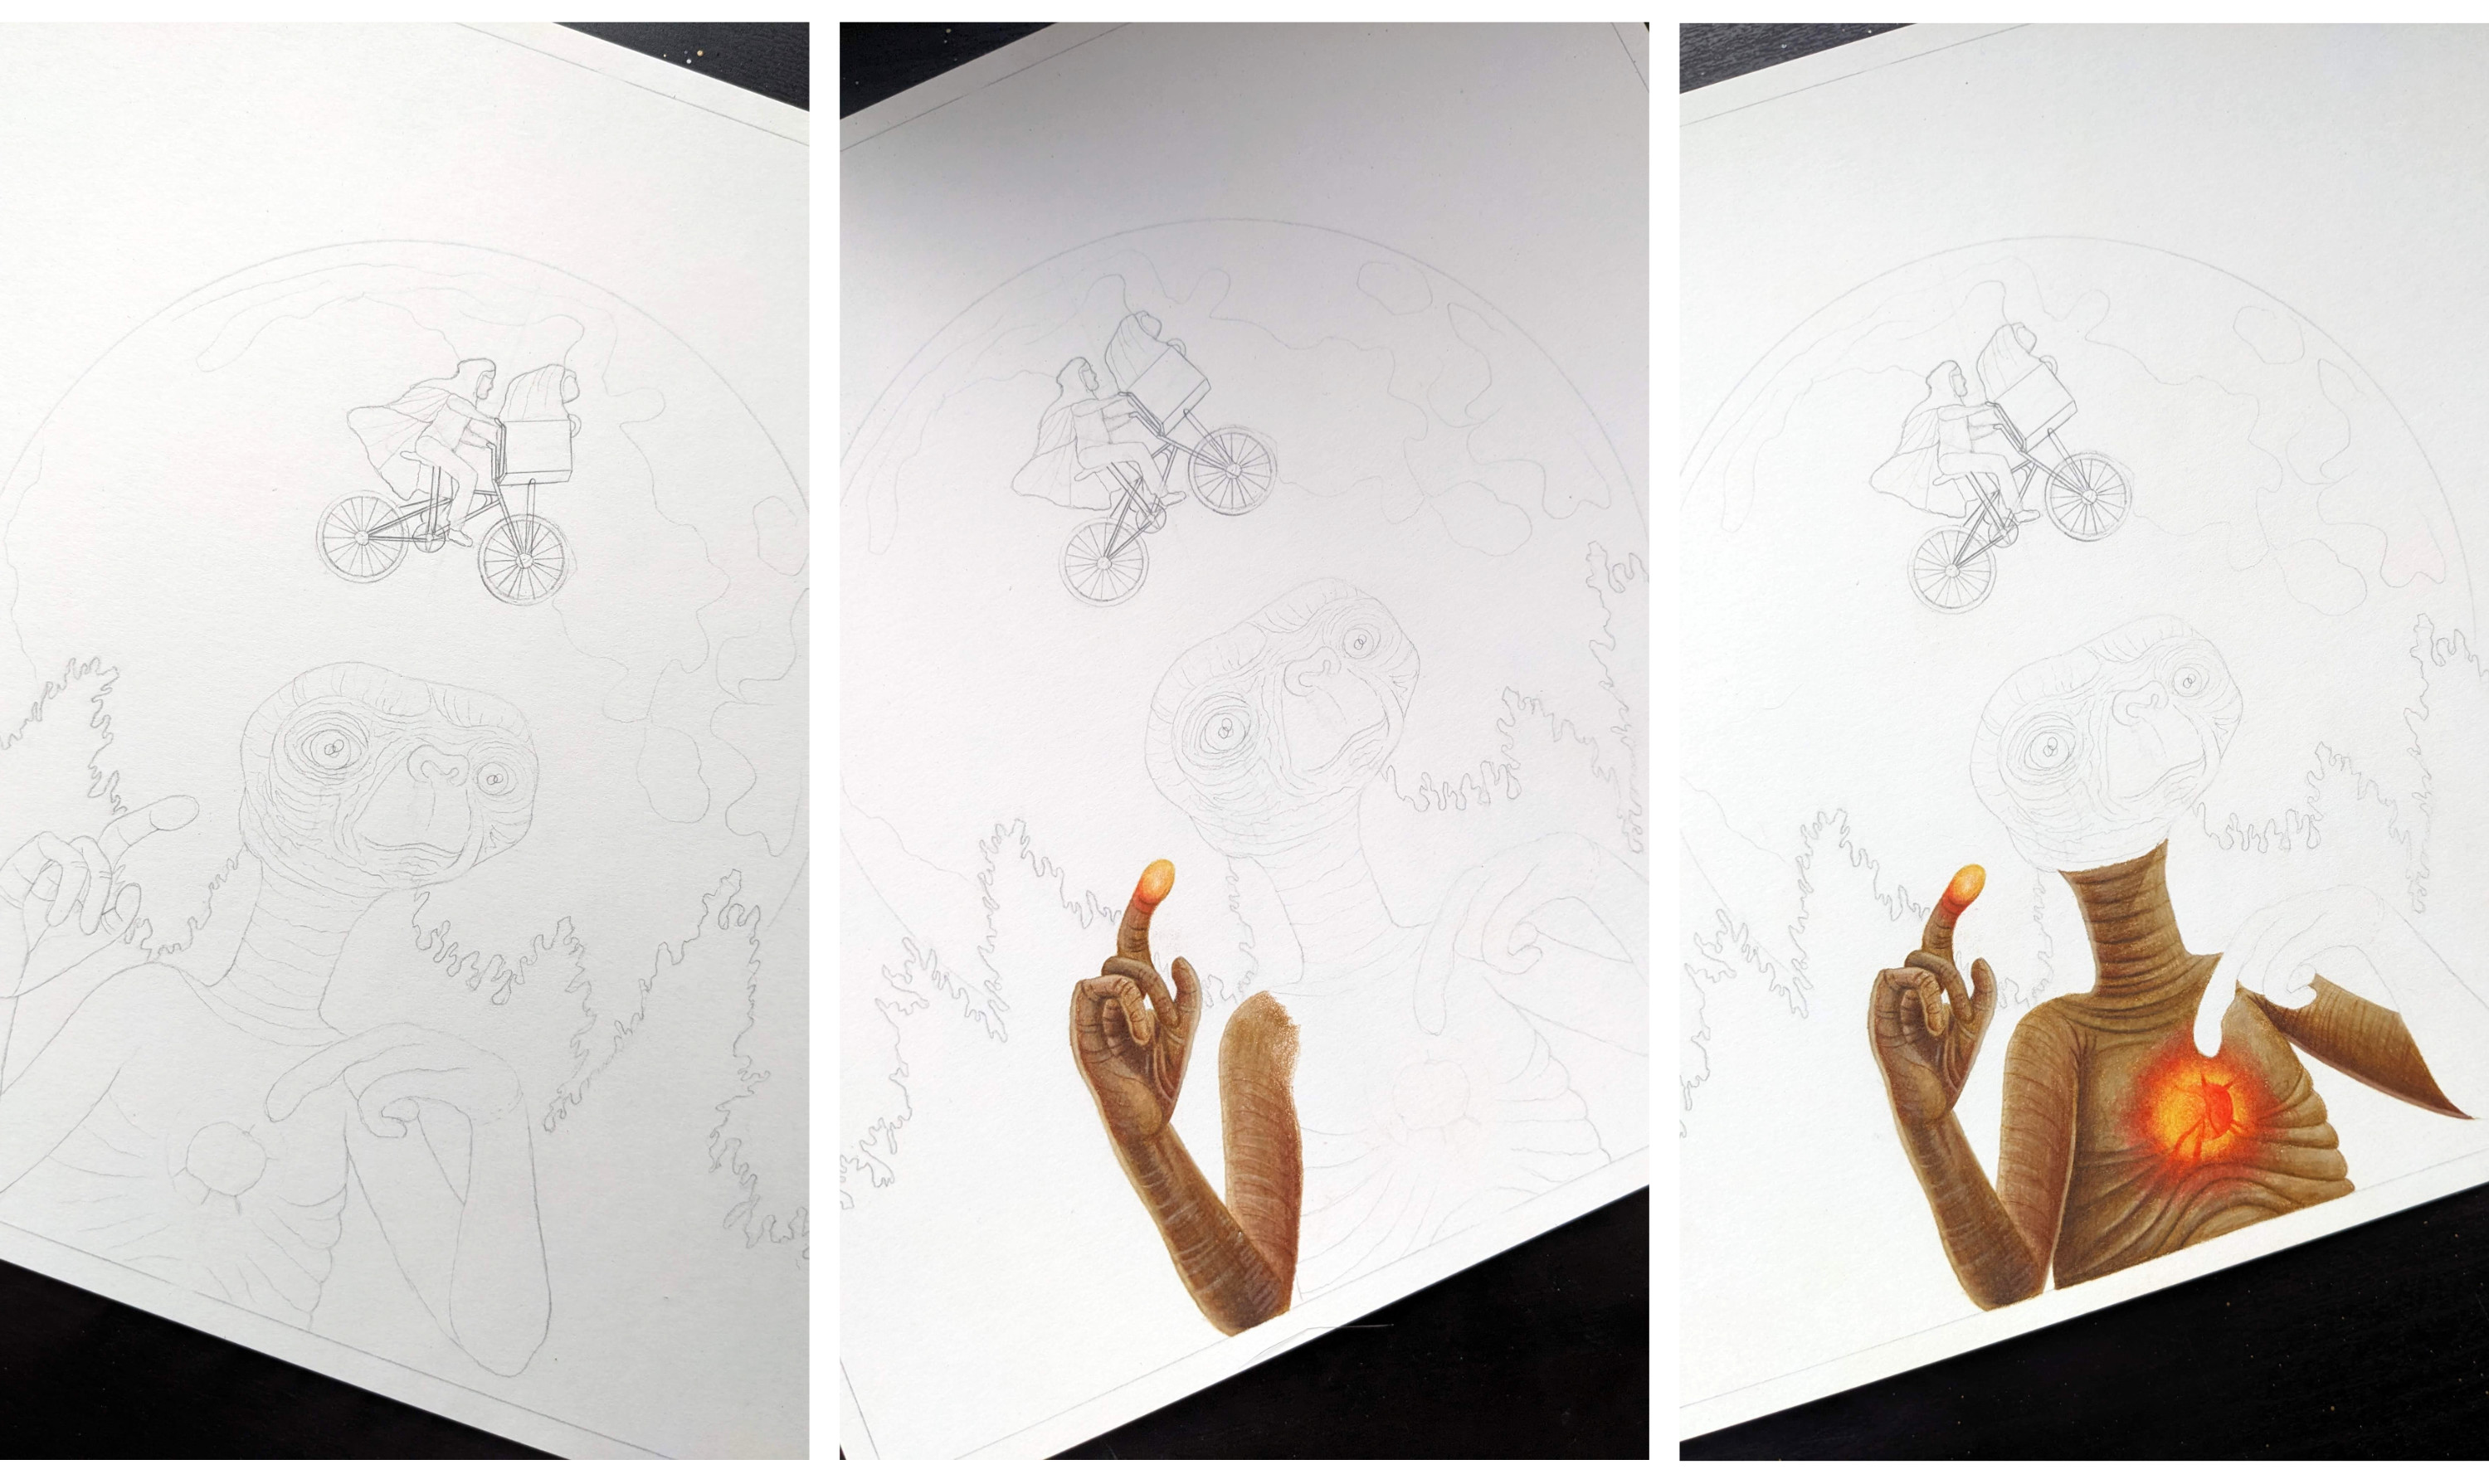
1. The basic outline of the entire drawing.
2. I started with E.T.'s hand thinking it's going to be easy. (It wasn't).
3. So I continued with his body next.
4. Making progress, I found E.T.'s head the hardest part.
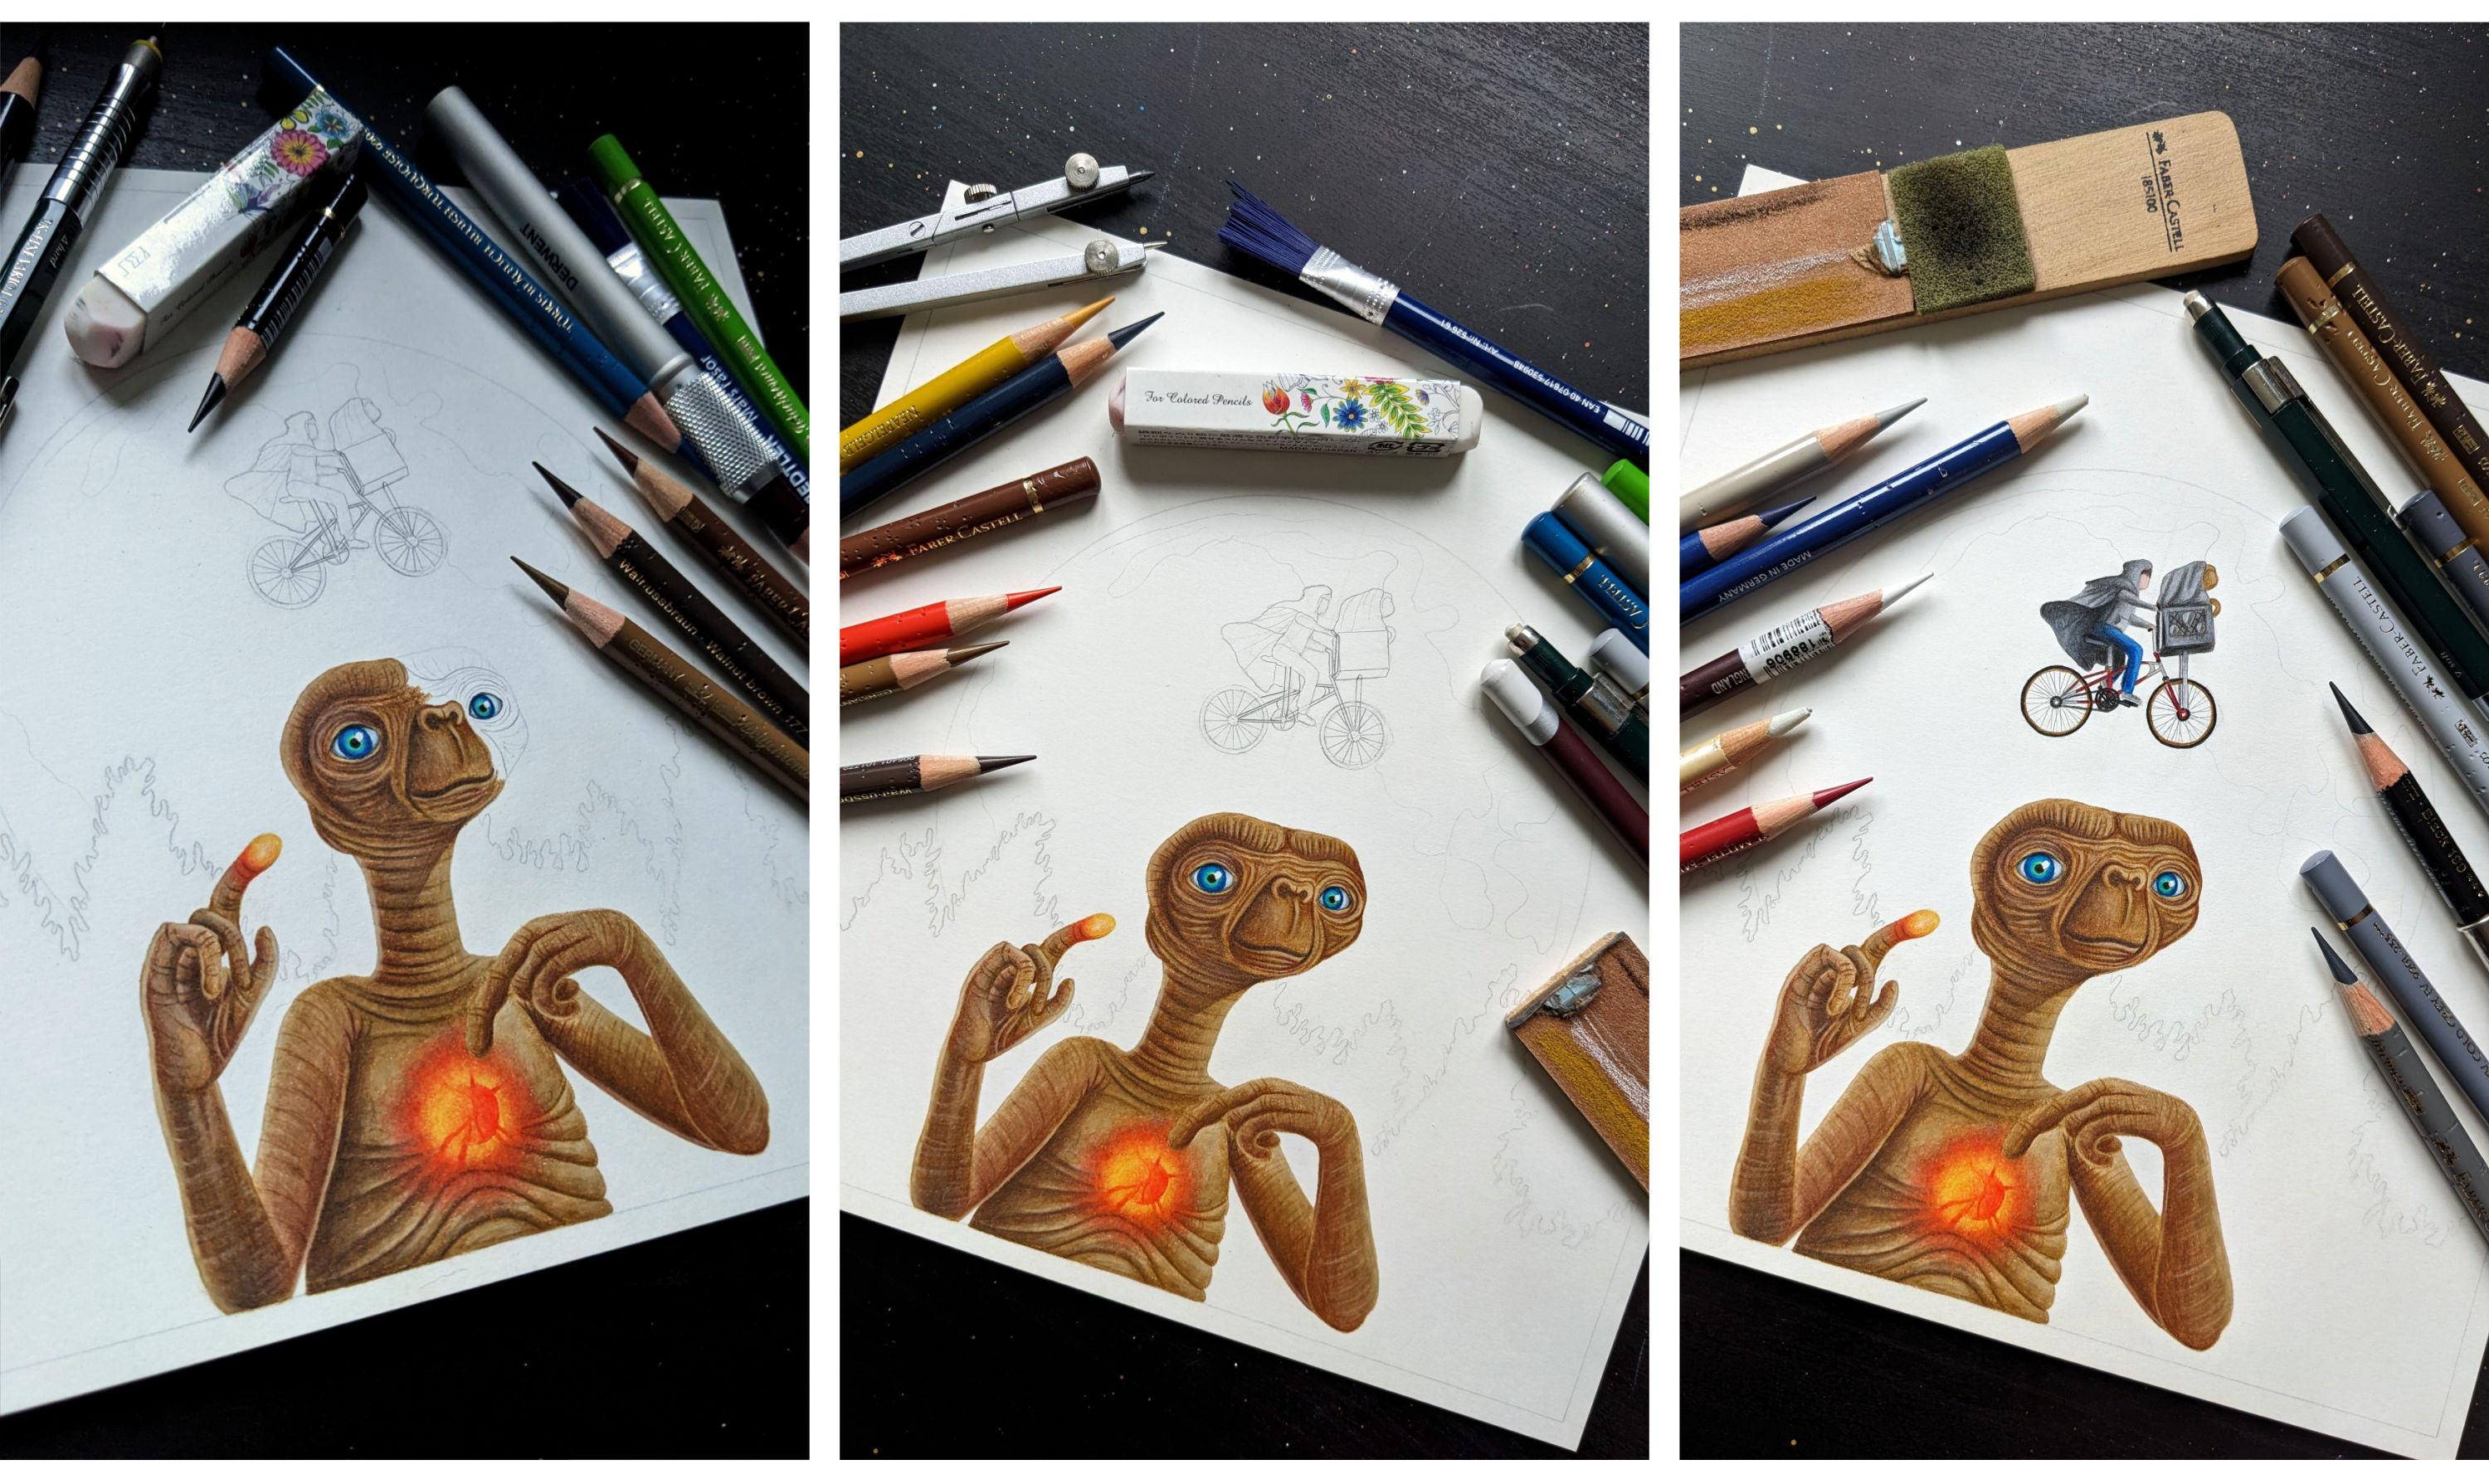
5. E.T. is complete.
6. Correction. Elliott and E.T. on the bike was the hardest part.
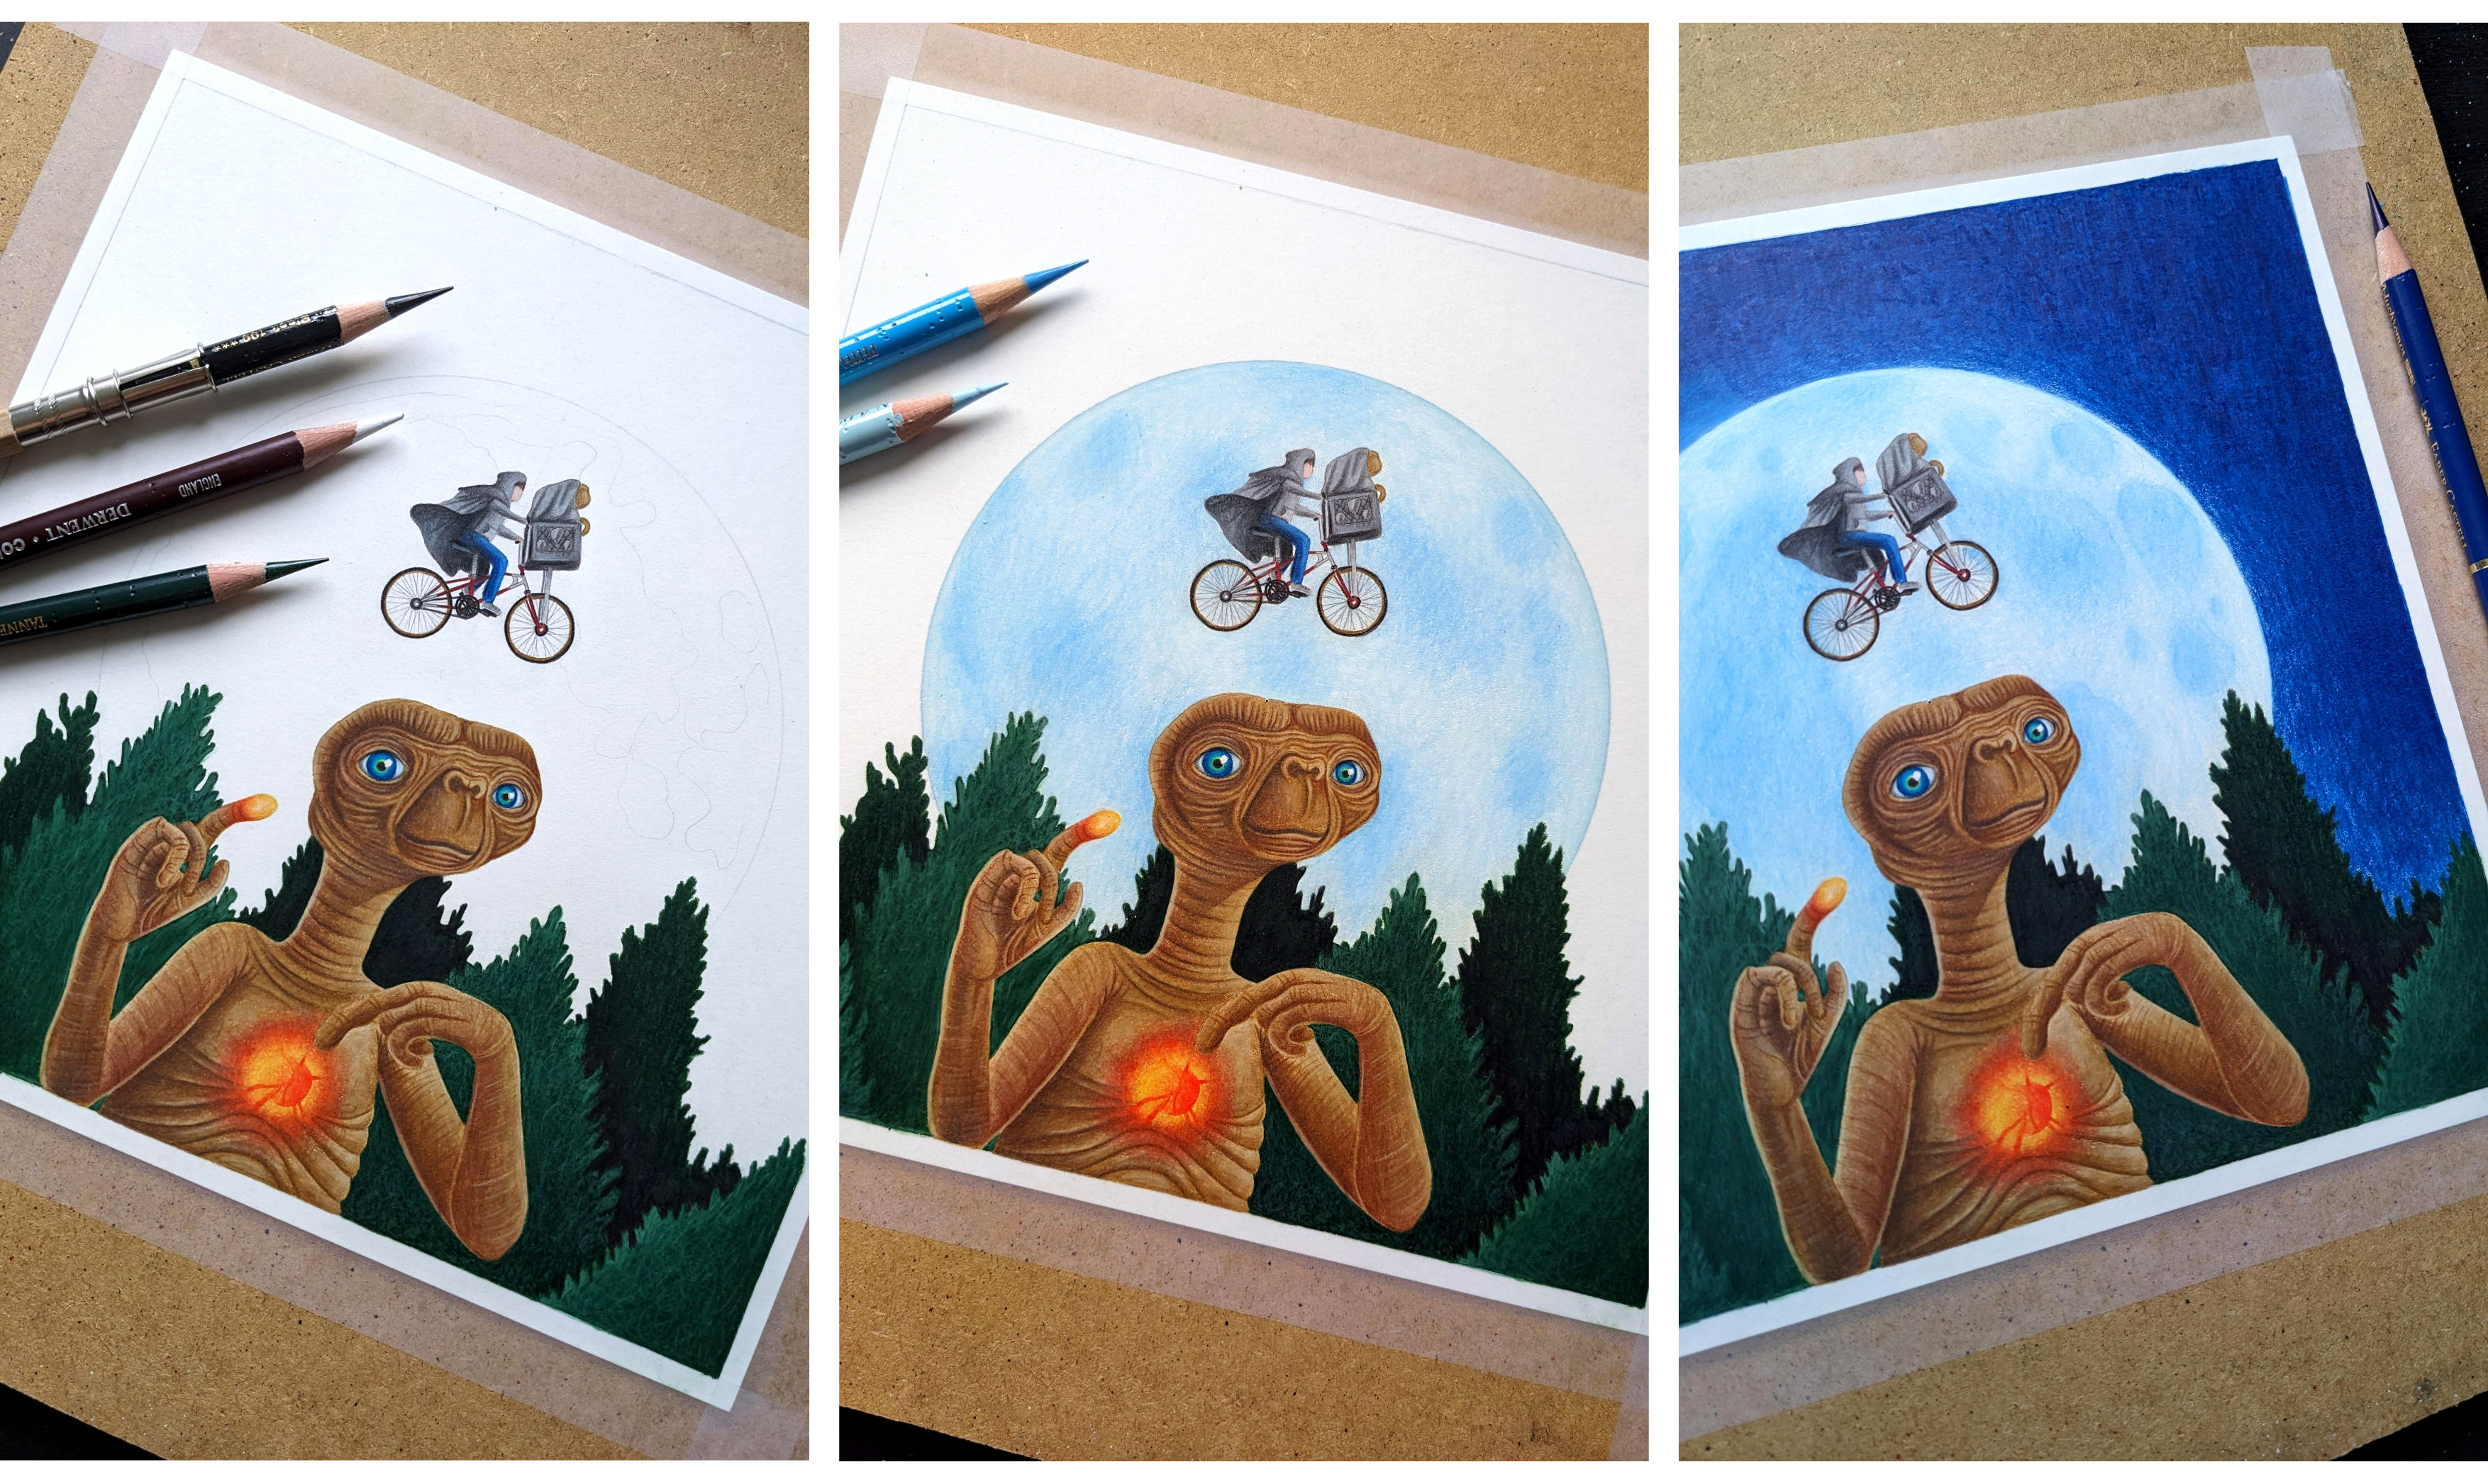
7. The forest behing E.T. is the first background element.
8. The full moon behind the forest is next.
9. Dark blue sky behind the full moon. You need to think through every single step before you start and then go one by one.
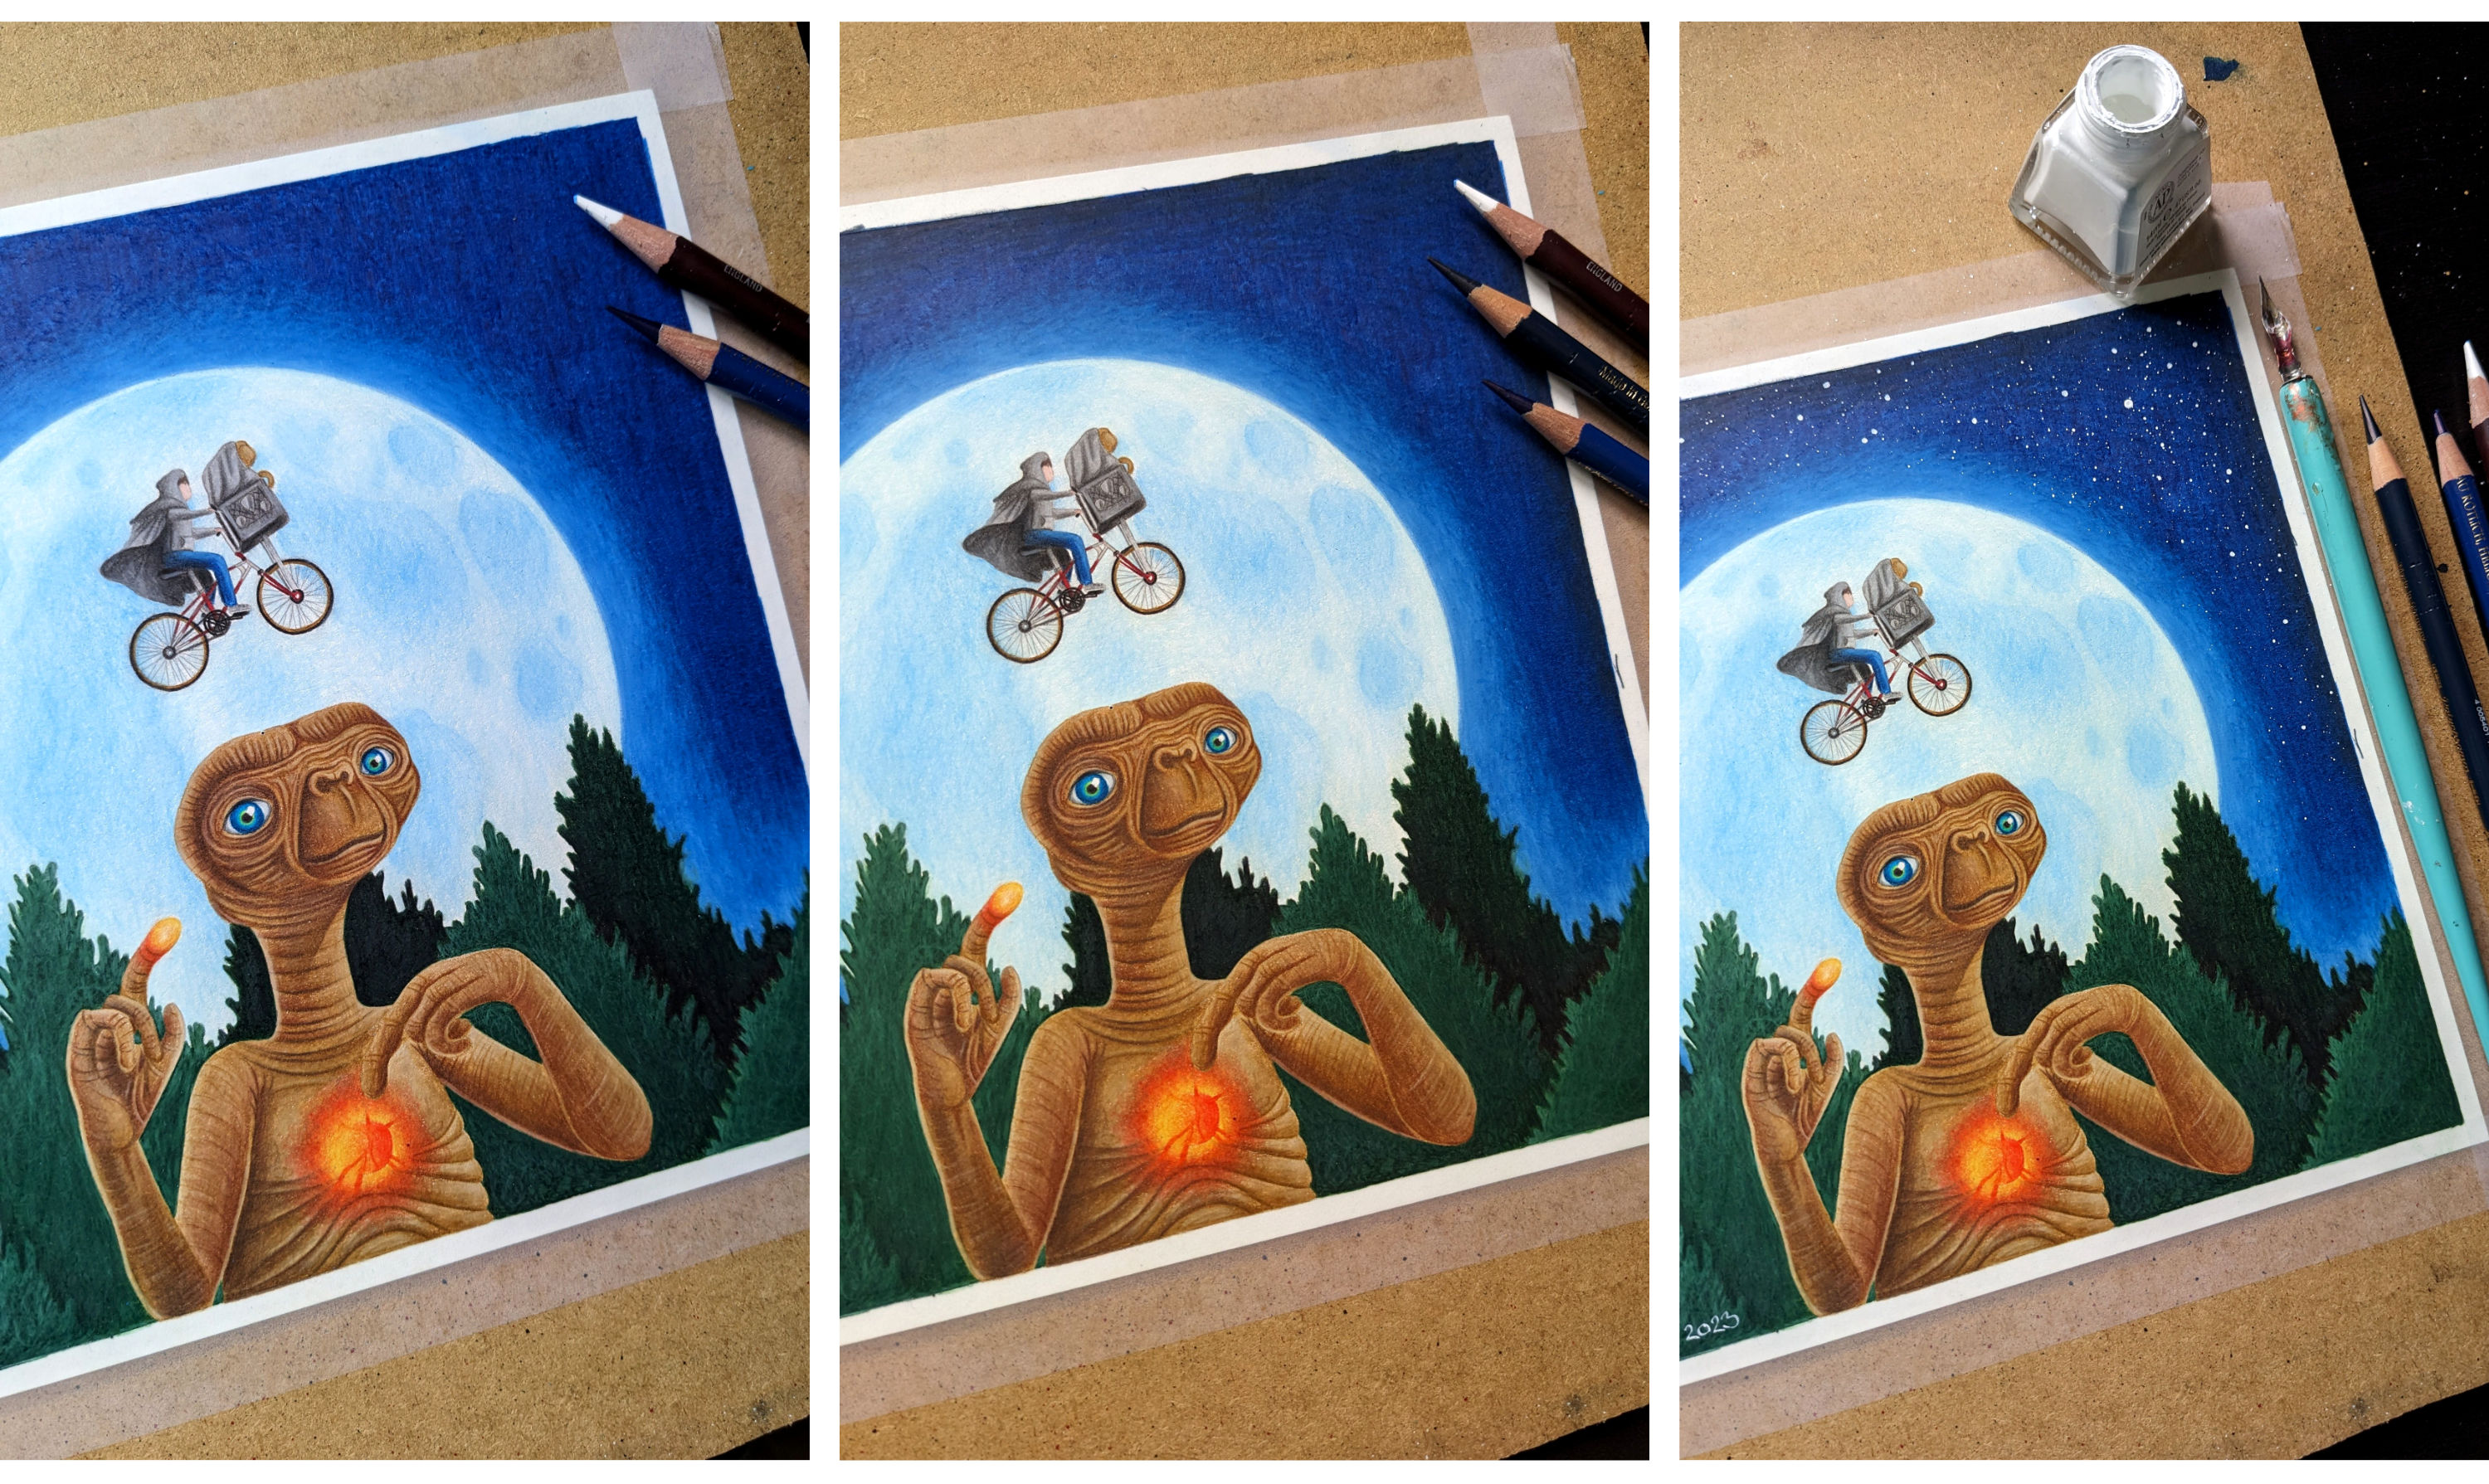
10. Not just any simple sky. First a glow around the full moon.
11. Then a darker blue all around the sides and in the corners.
12. And finally the stars on the sky.
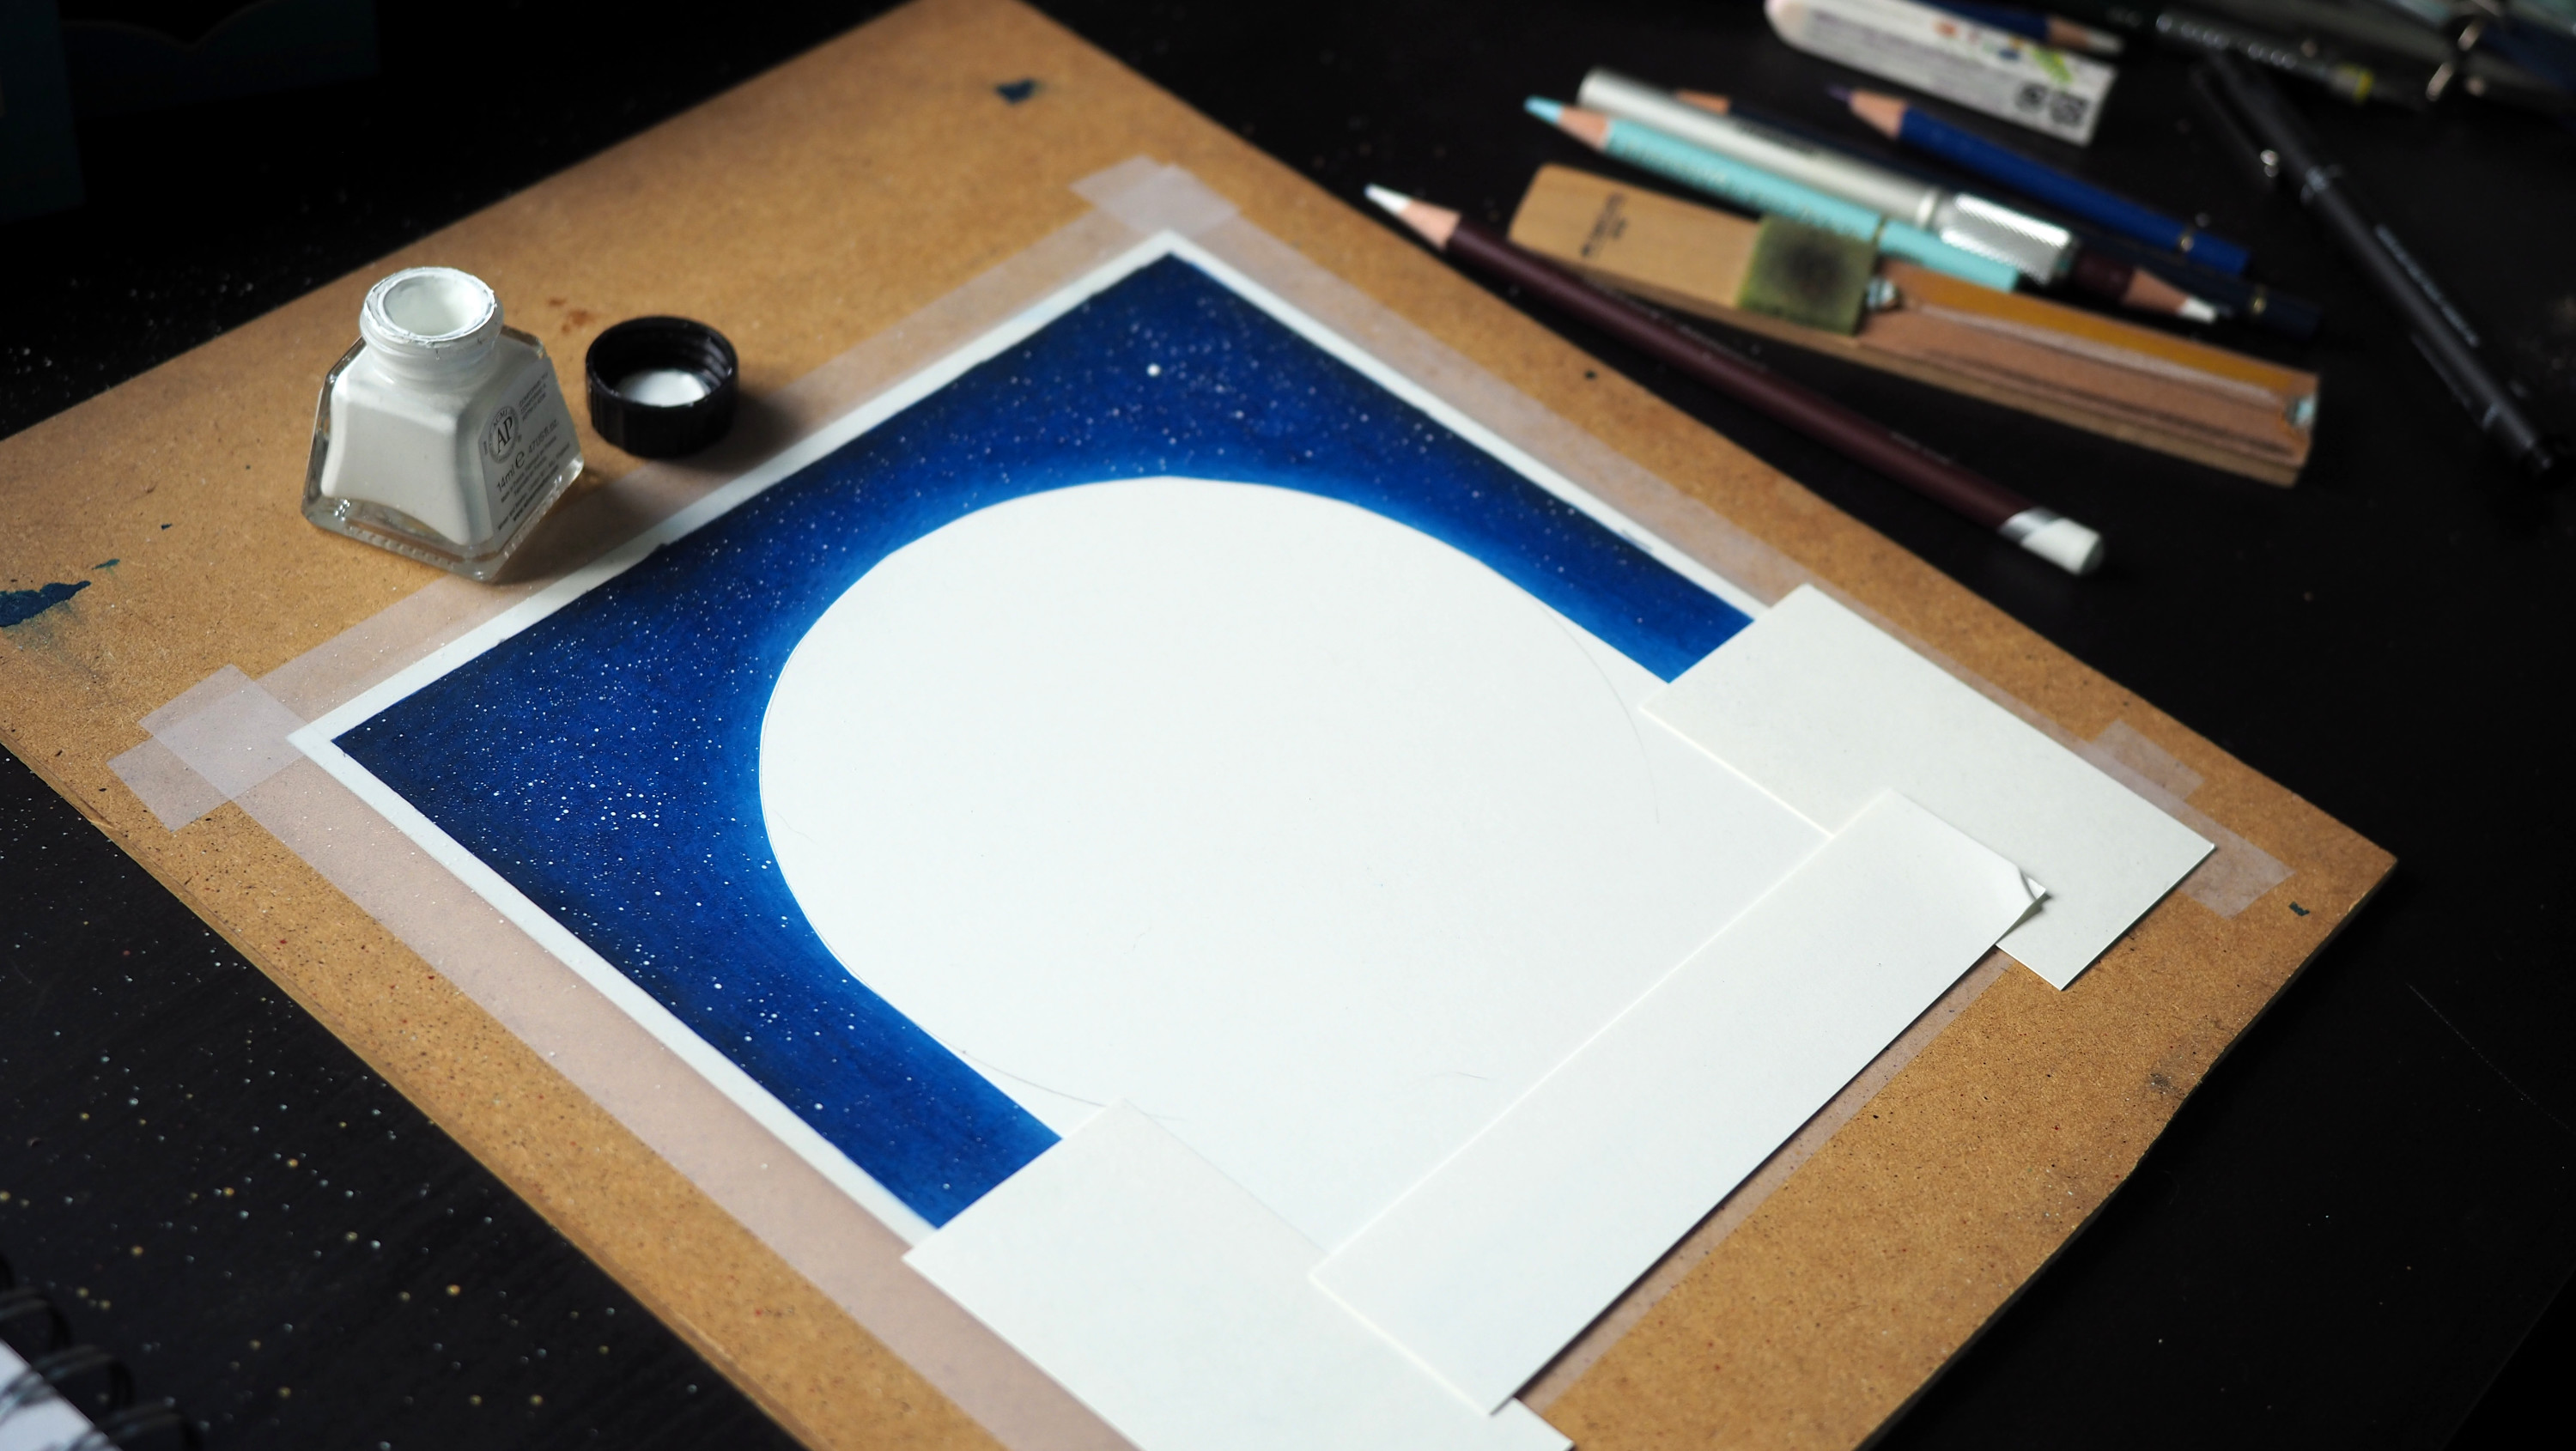
To make sure that no ink goes anywhere else, I cut out a piece of paper and covered all the areas of the drawings I wanted to protect.

An inside look into the sketchbook and all the tools around it. I need to know if a certain colour or shading will work so I will experitement in the sketchbook first, you don't want to ruin your actual drawing. I also love recording all the colours I use, some day I may need to know what blue I used for the sky or for E.T.'s eyes. Who knows, but it's recorded anyways.
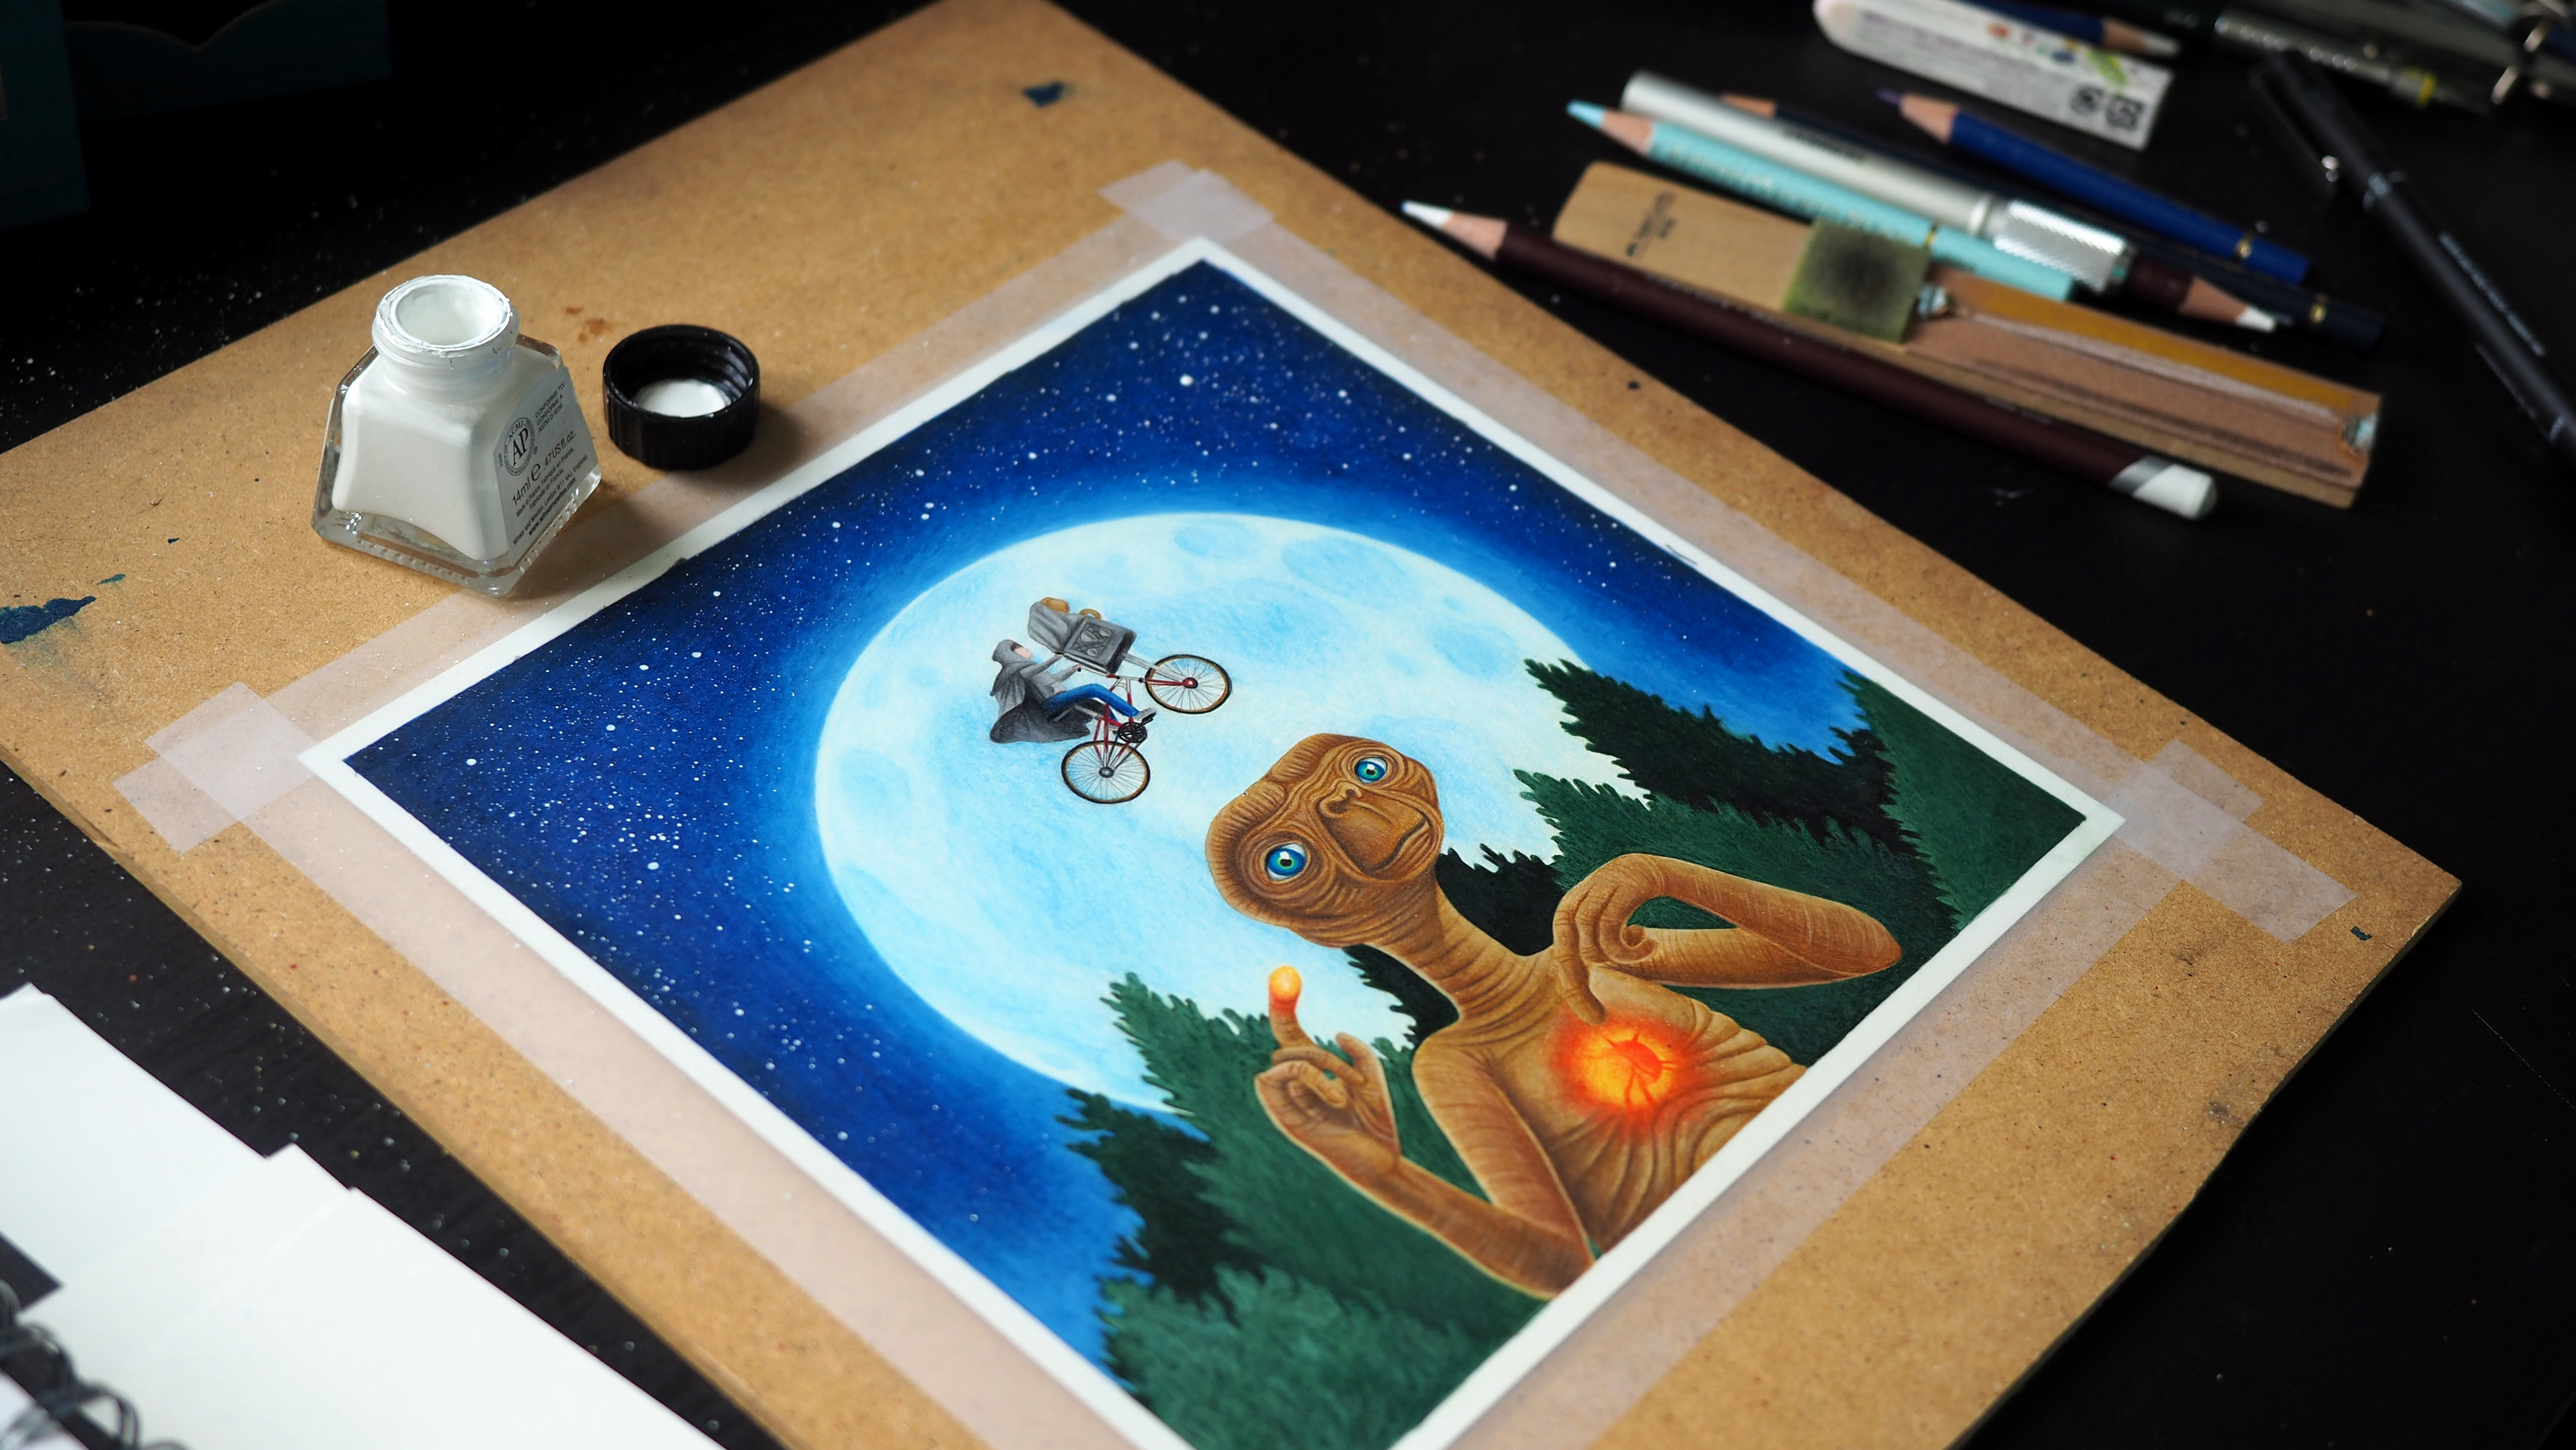
Over 2 weeks of working on E.T. it is time for the finishing touches and the digital process.
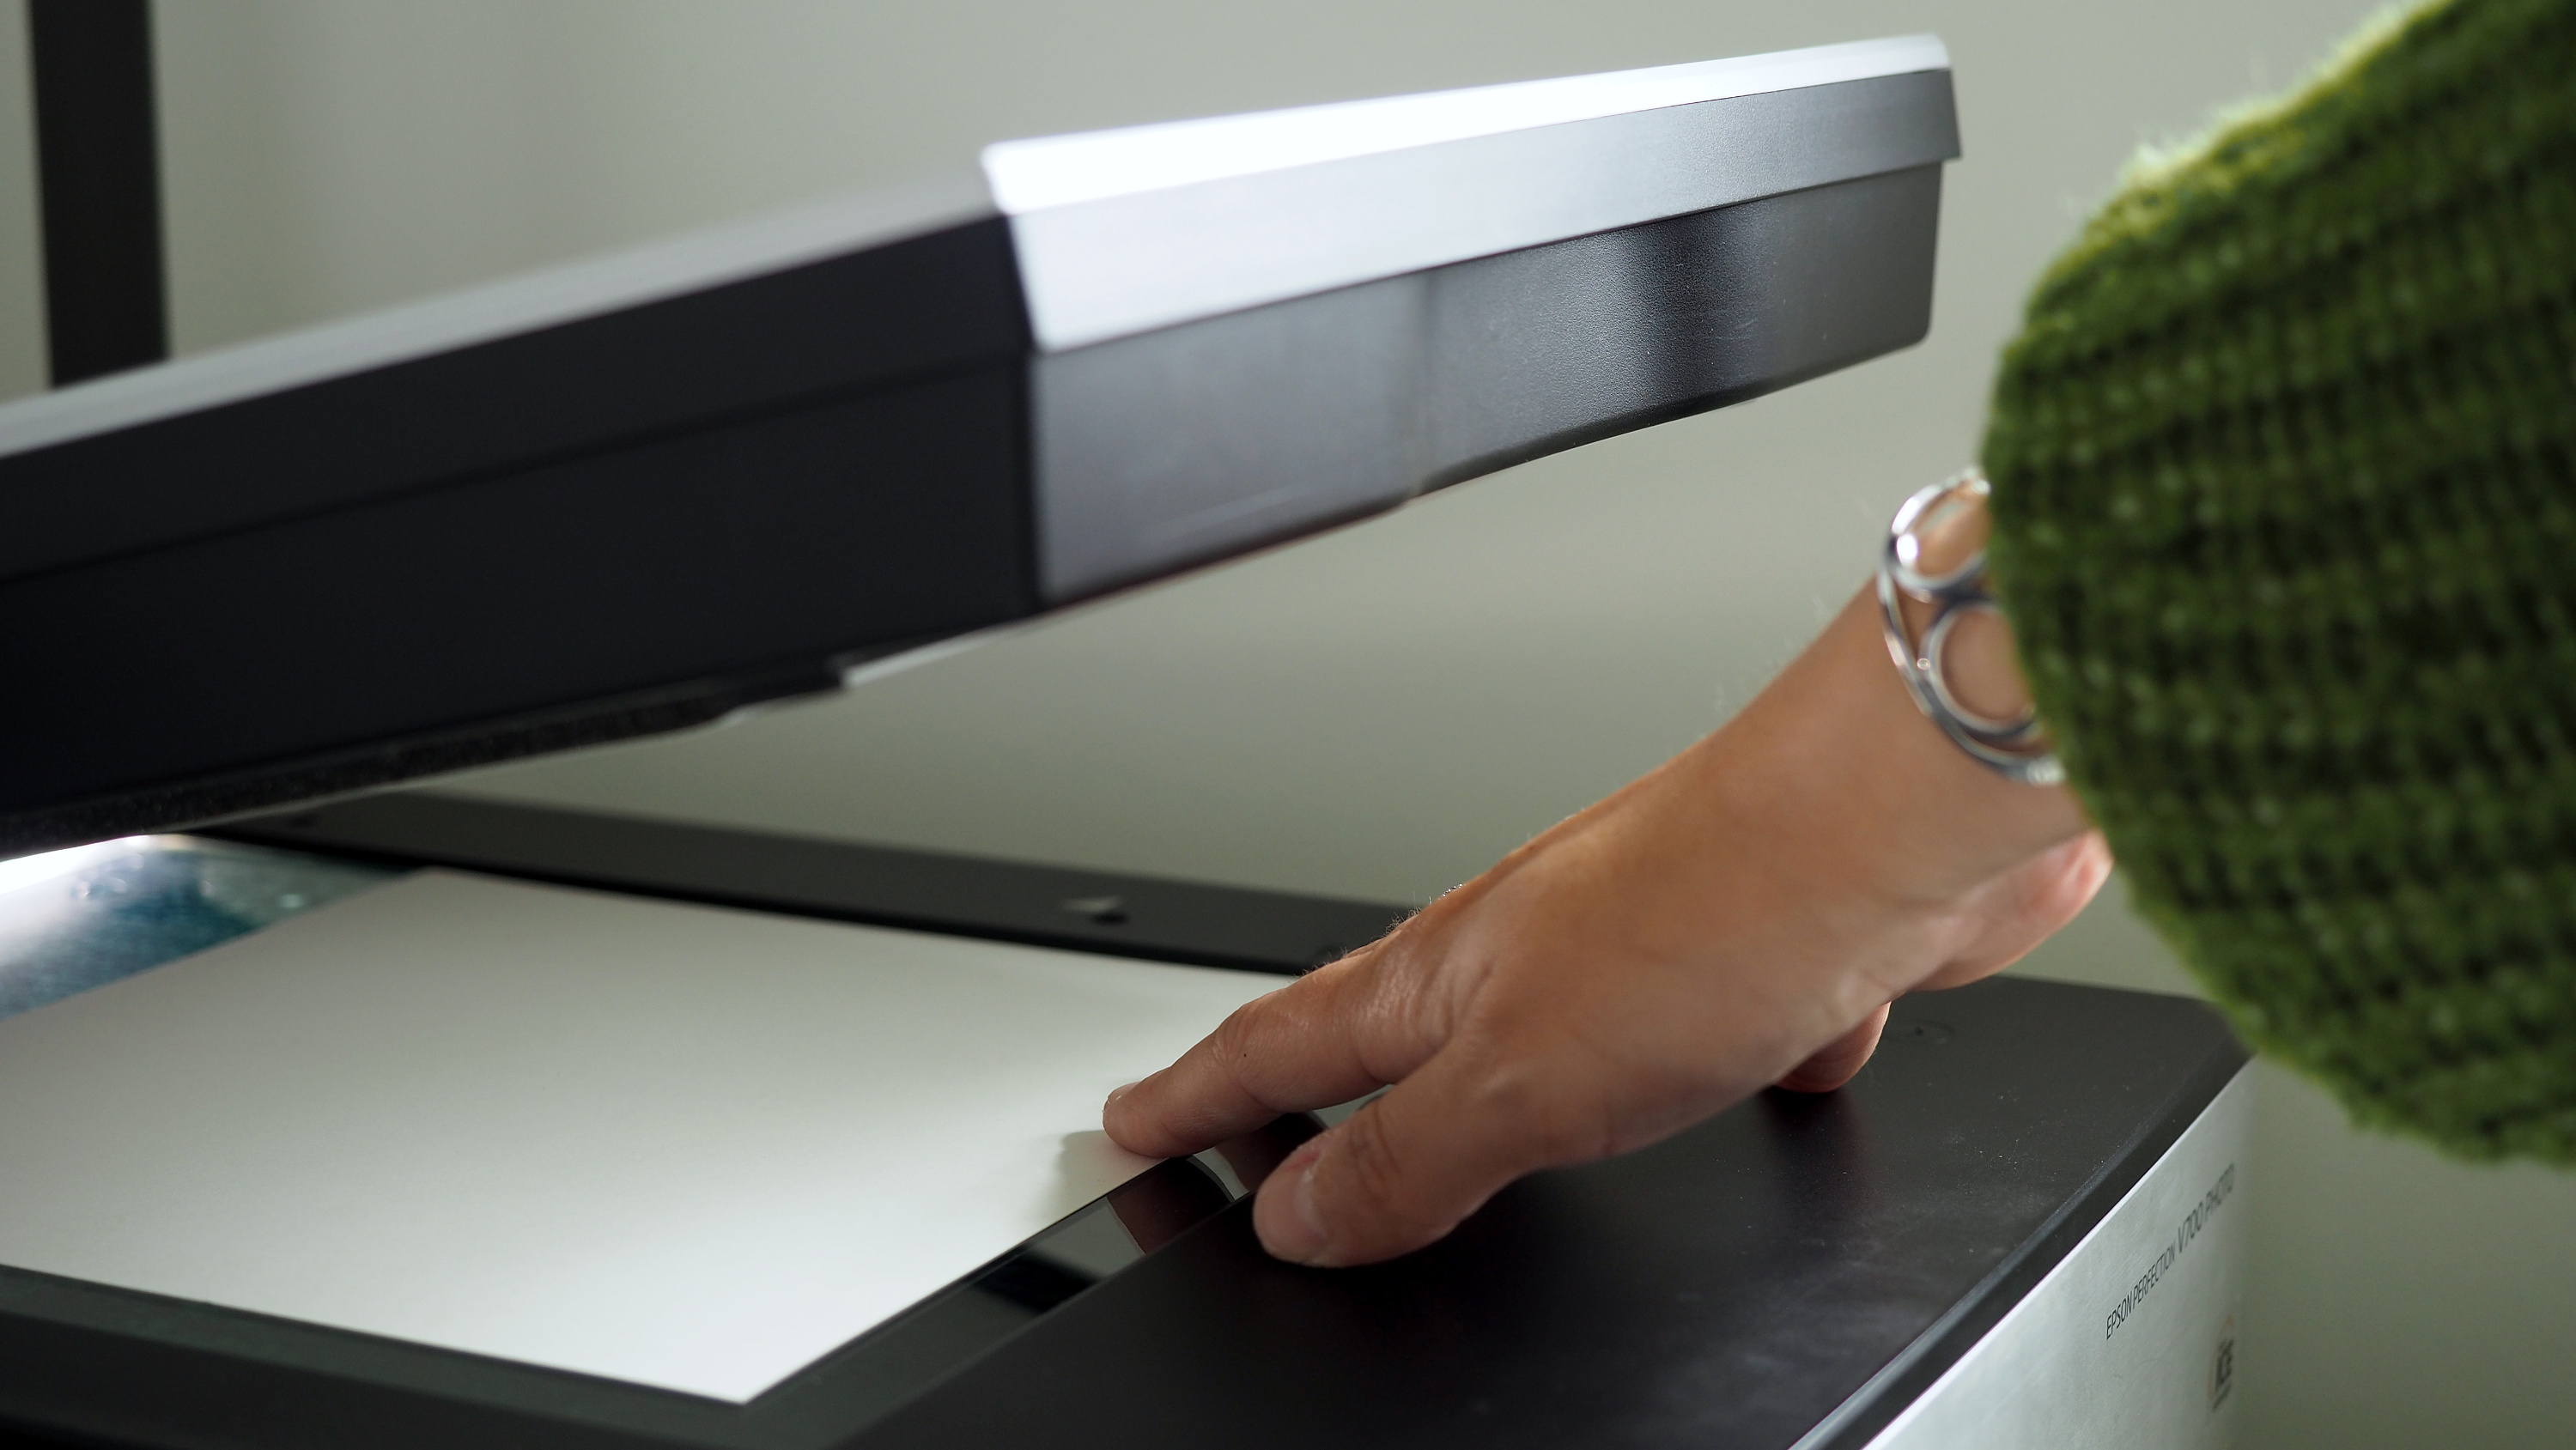
I'm going to scan the original drawing in high resolution.
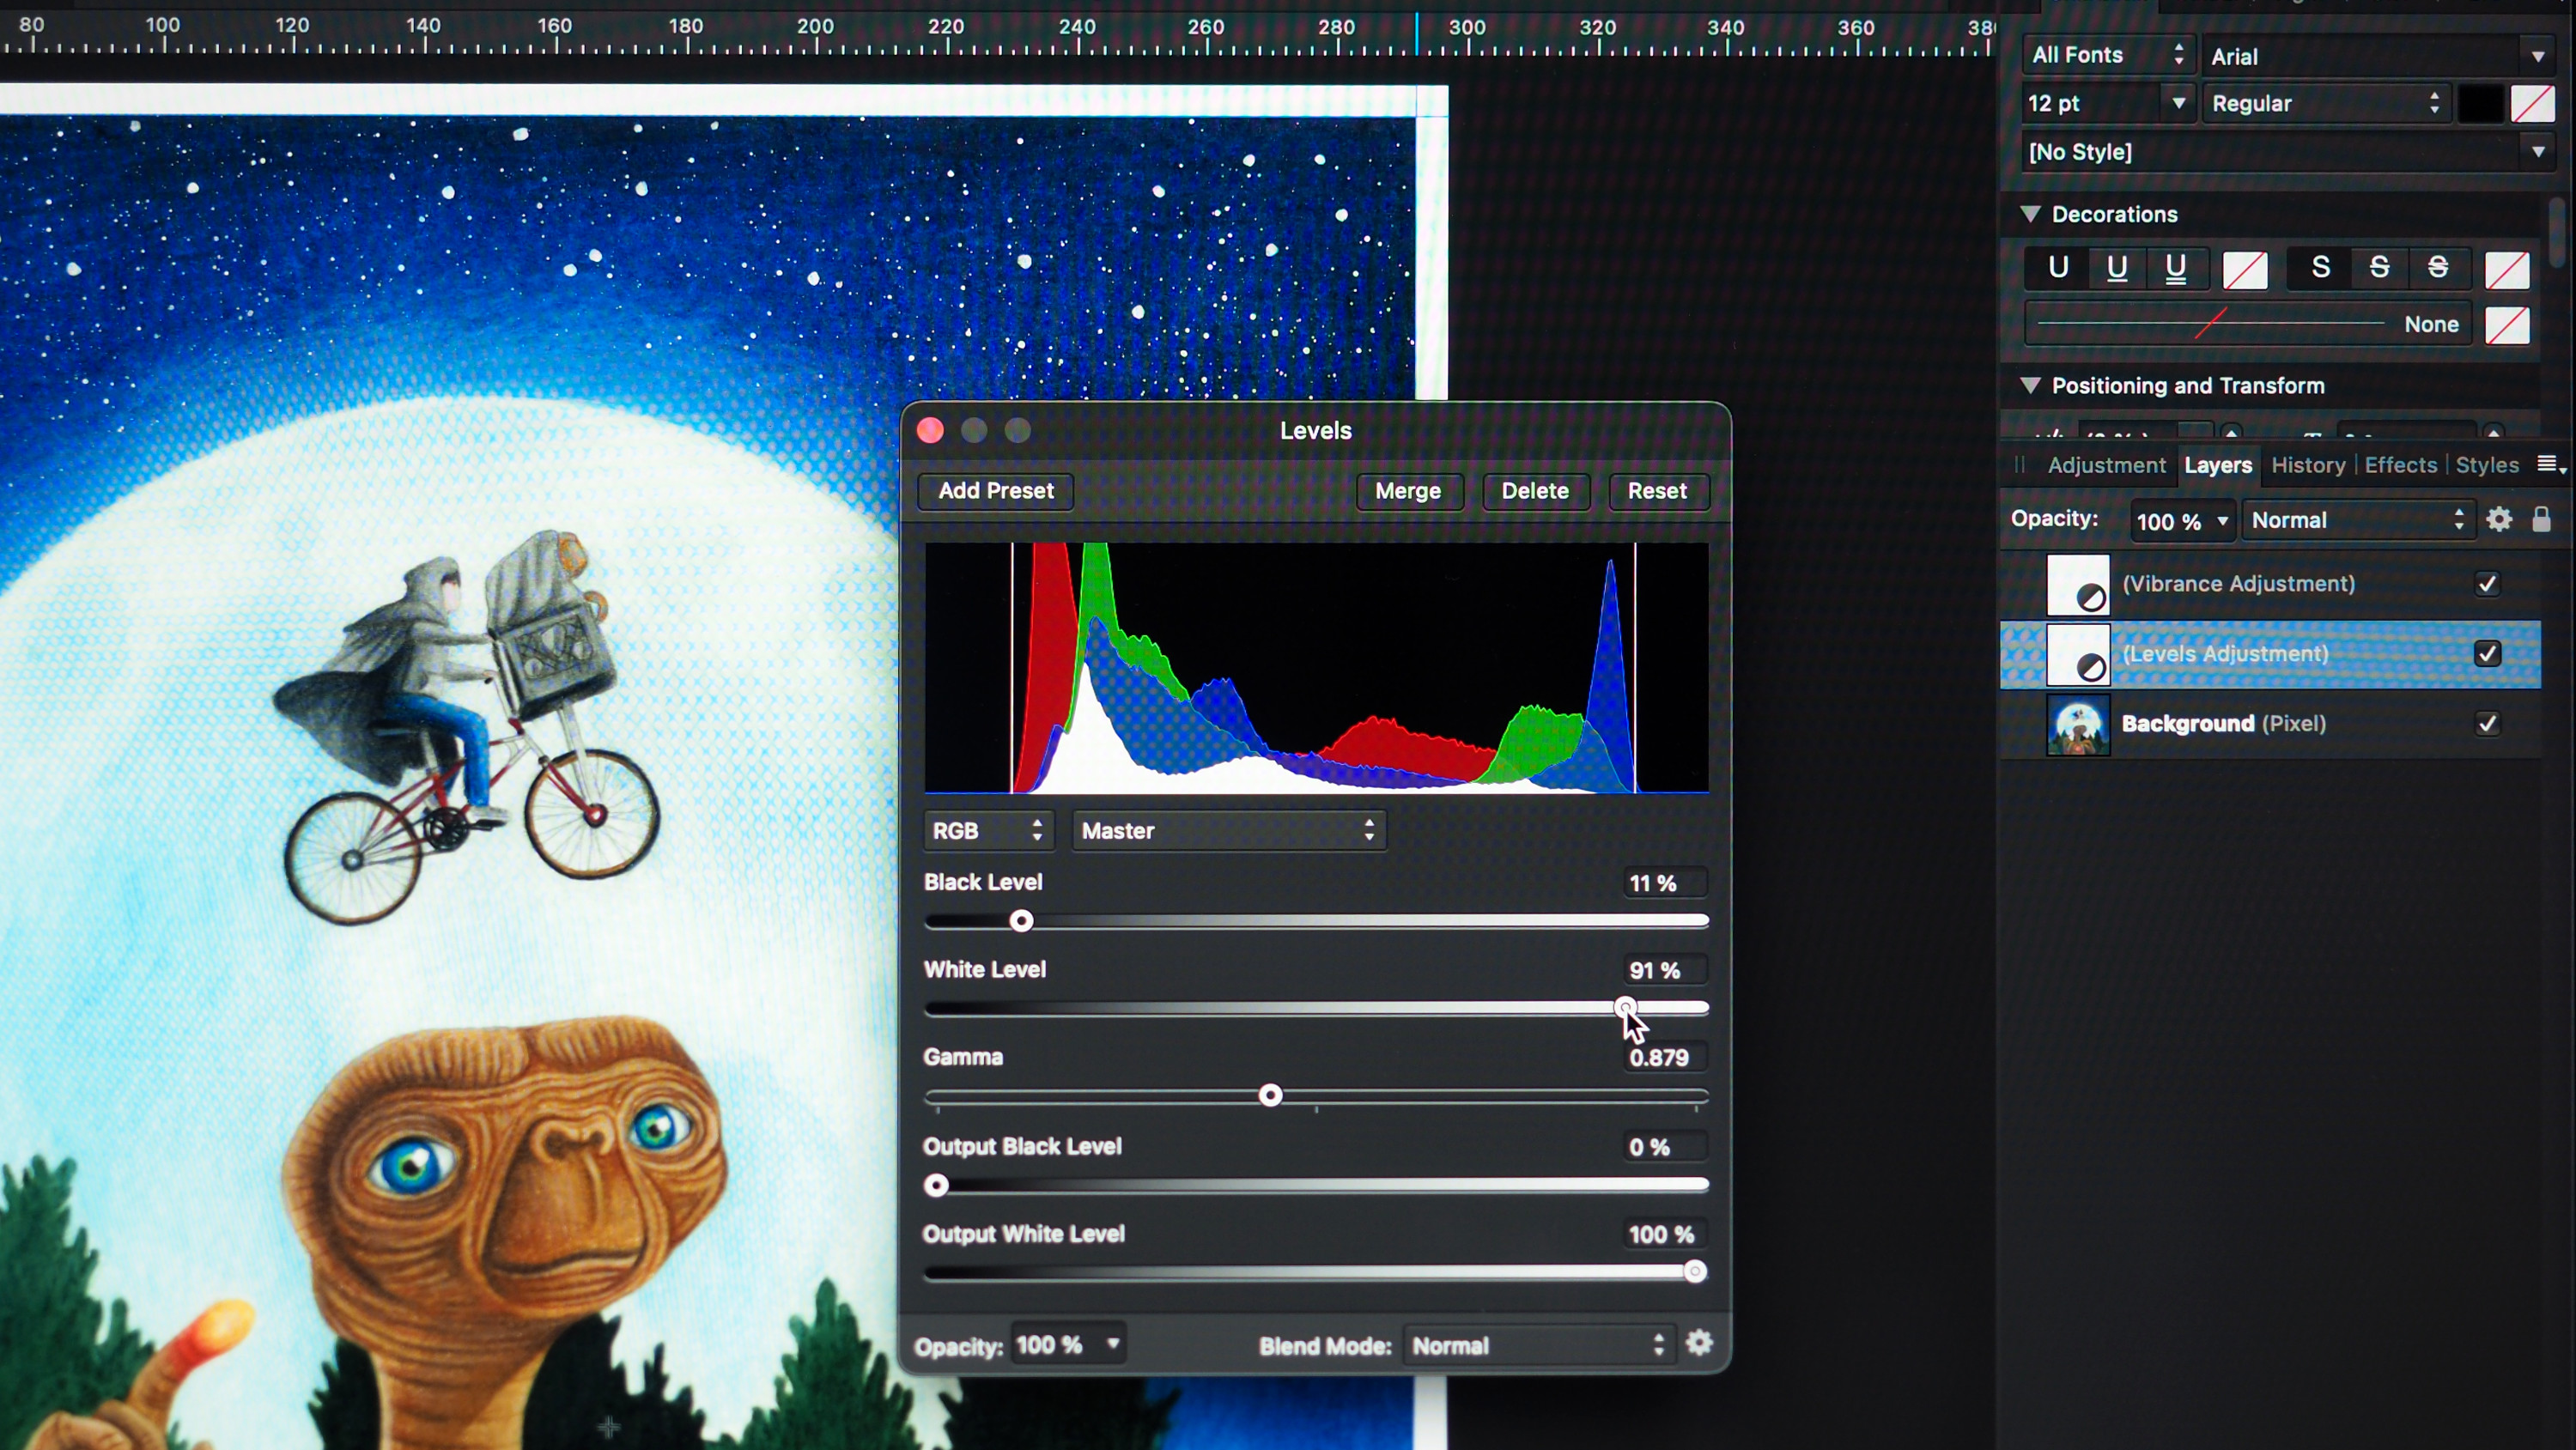
I will edit it and save it for print production.
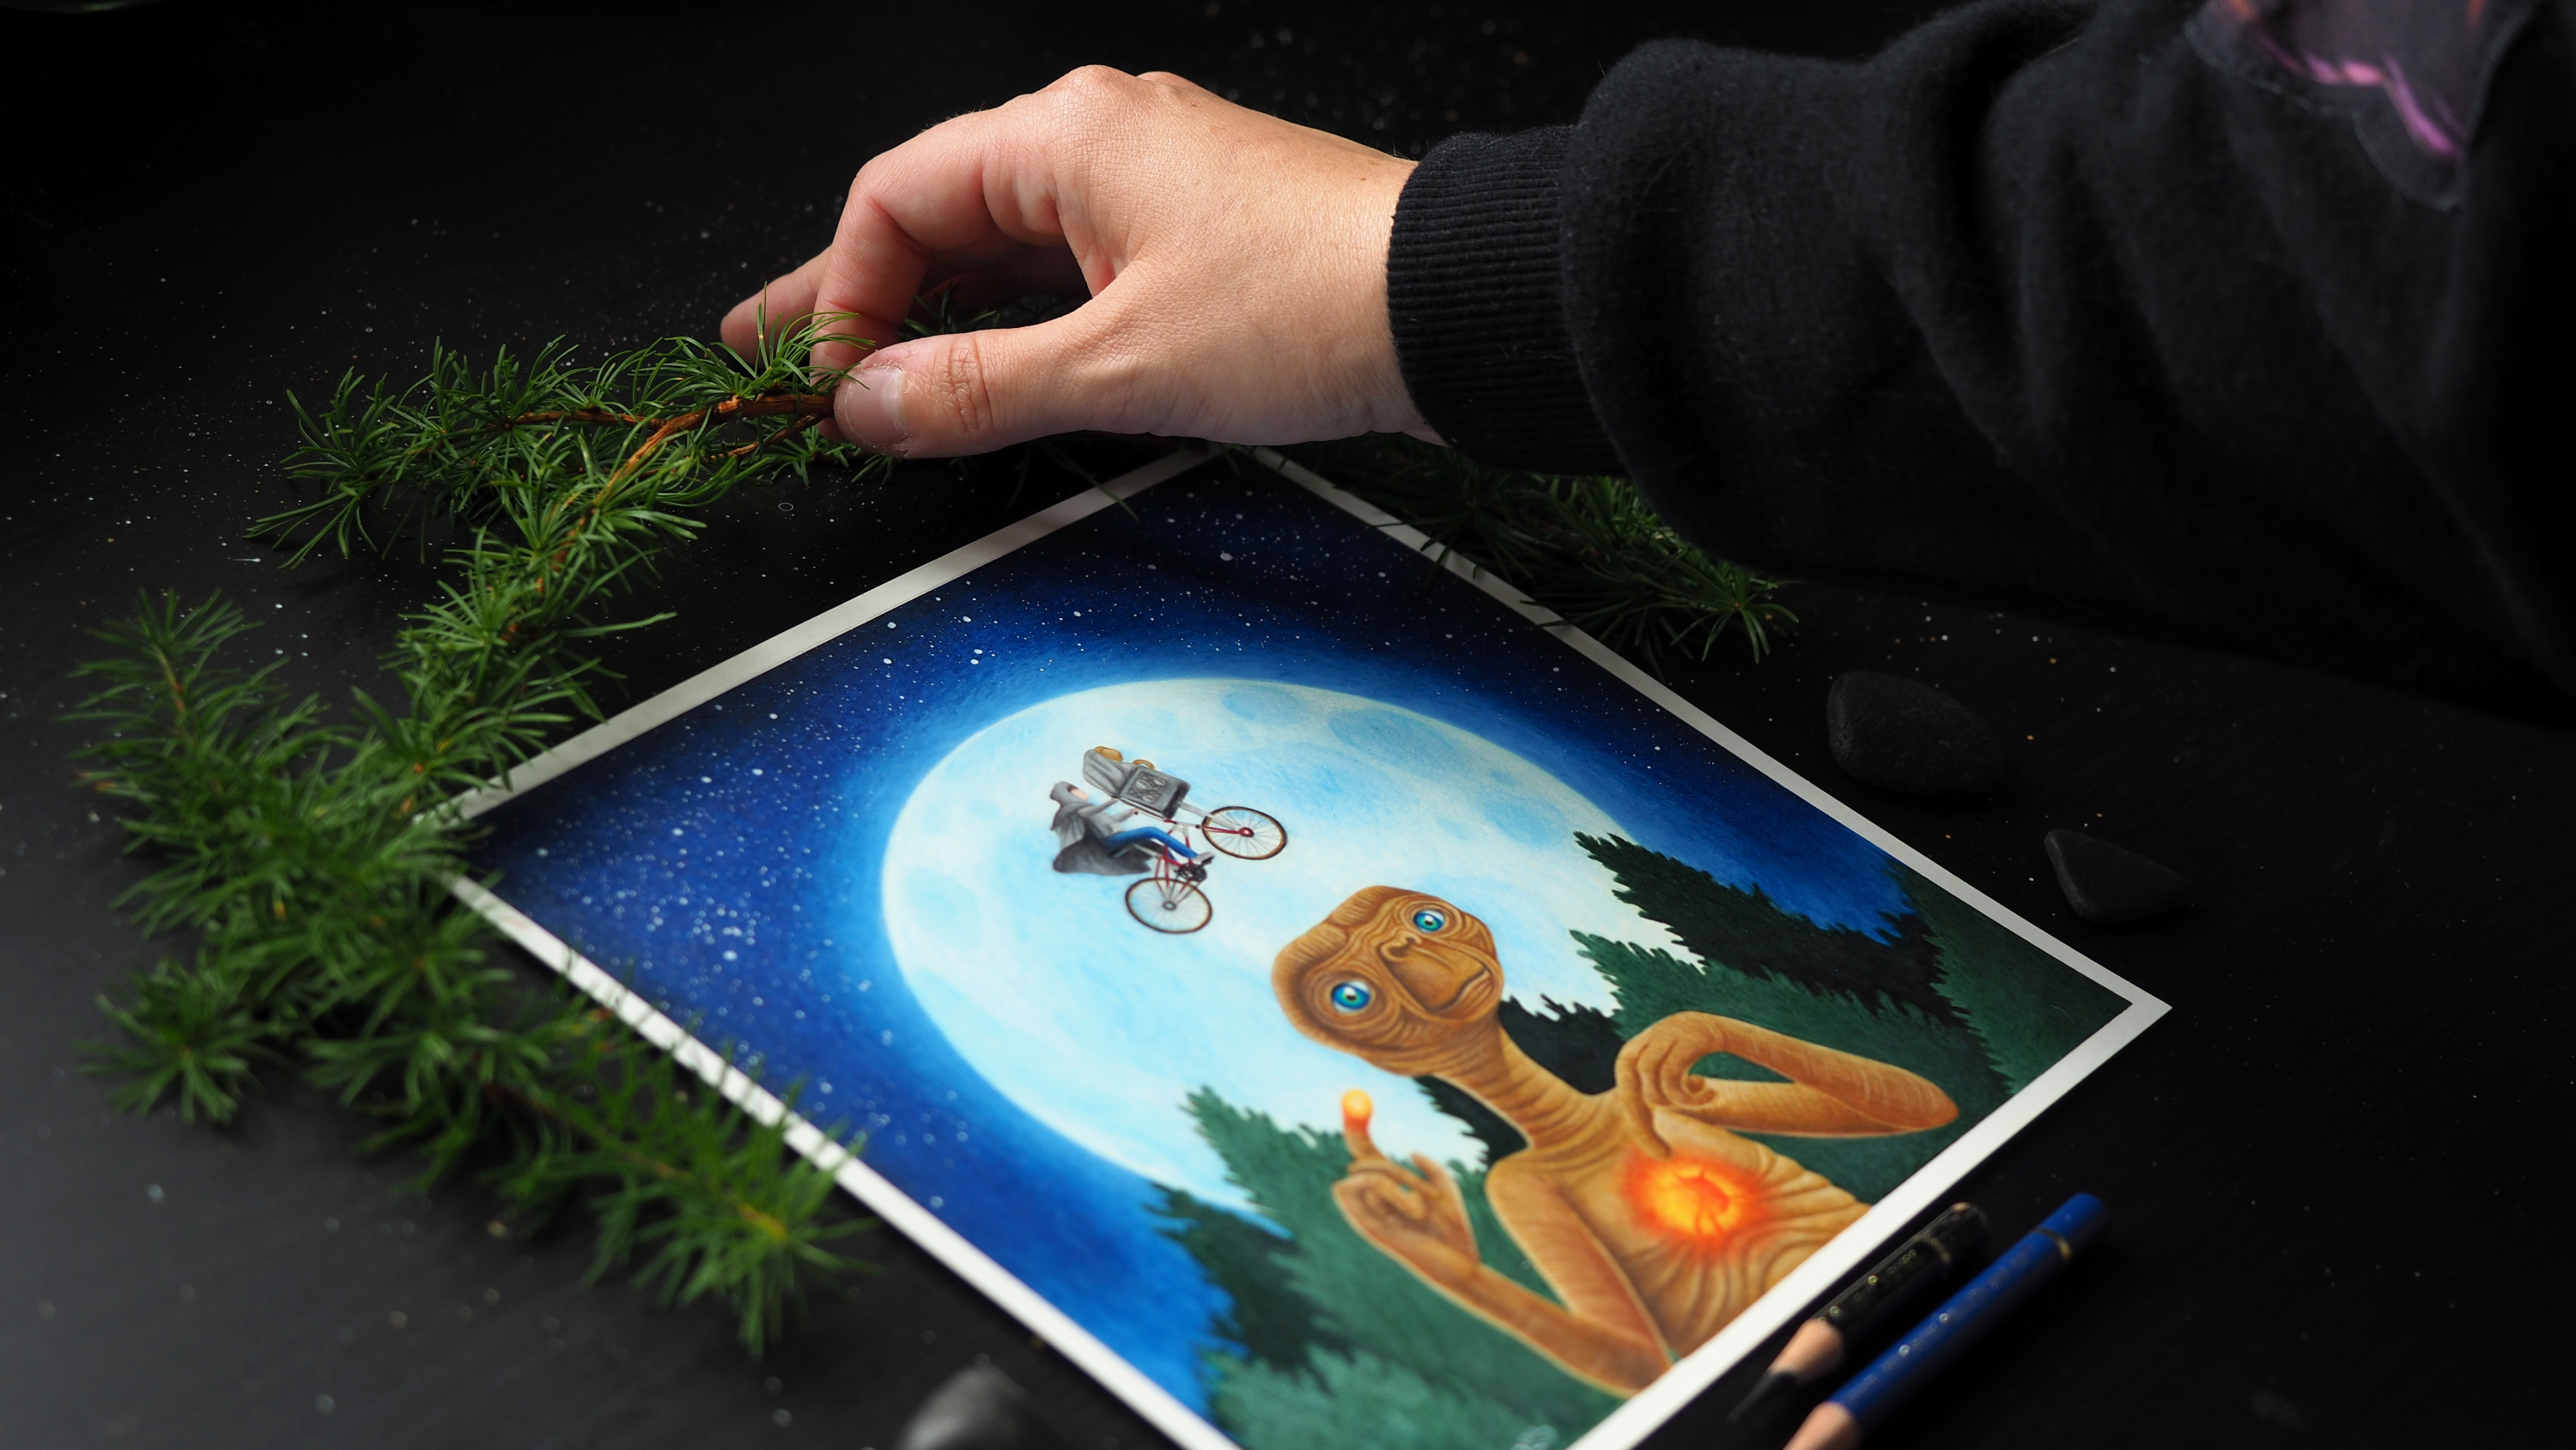
Now I'm going to take some photos of my finished drawing. As for every photo I'm using decorations that will match the mood of the drawing. E.T. landed in a pine forest so I wanto to use a similar setting. We cut some fresh branches from the garden.
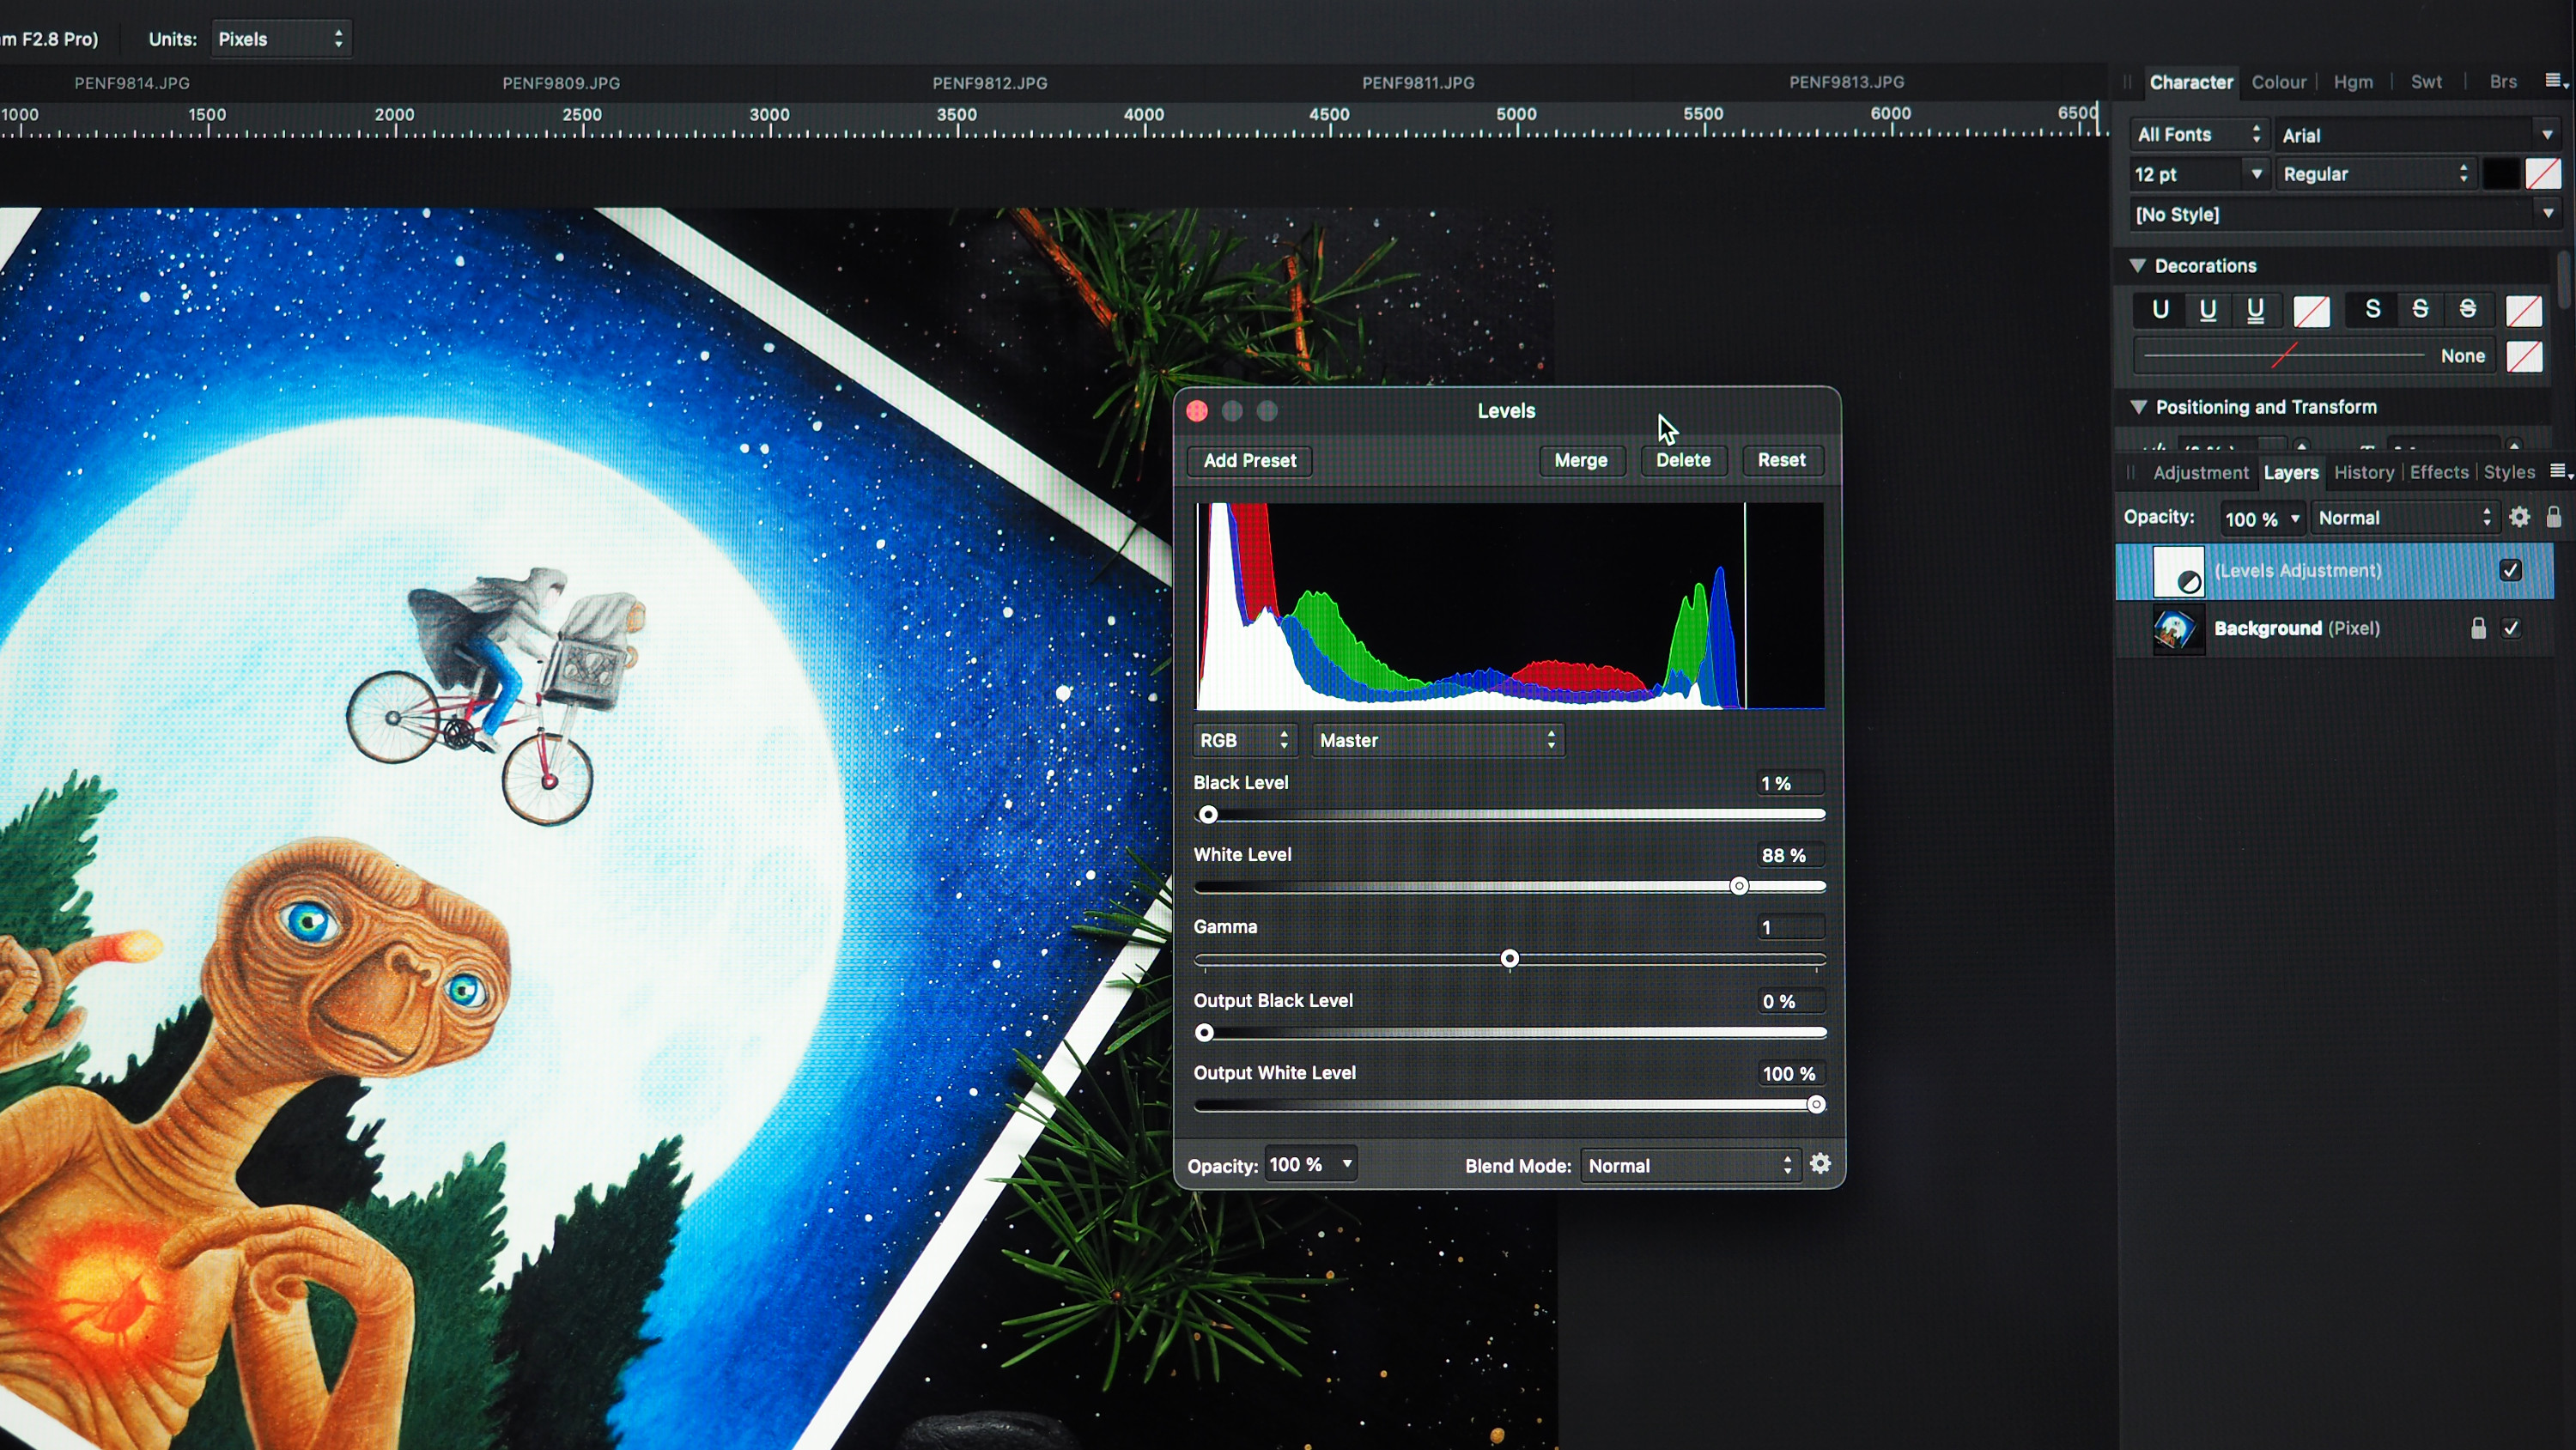
The product photos also need editing so I can upload them onto my webshop.
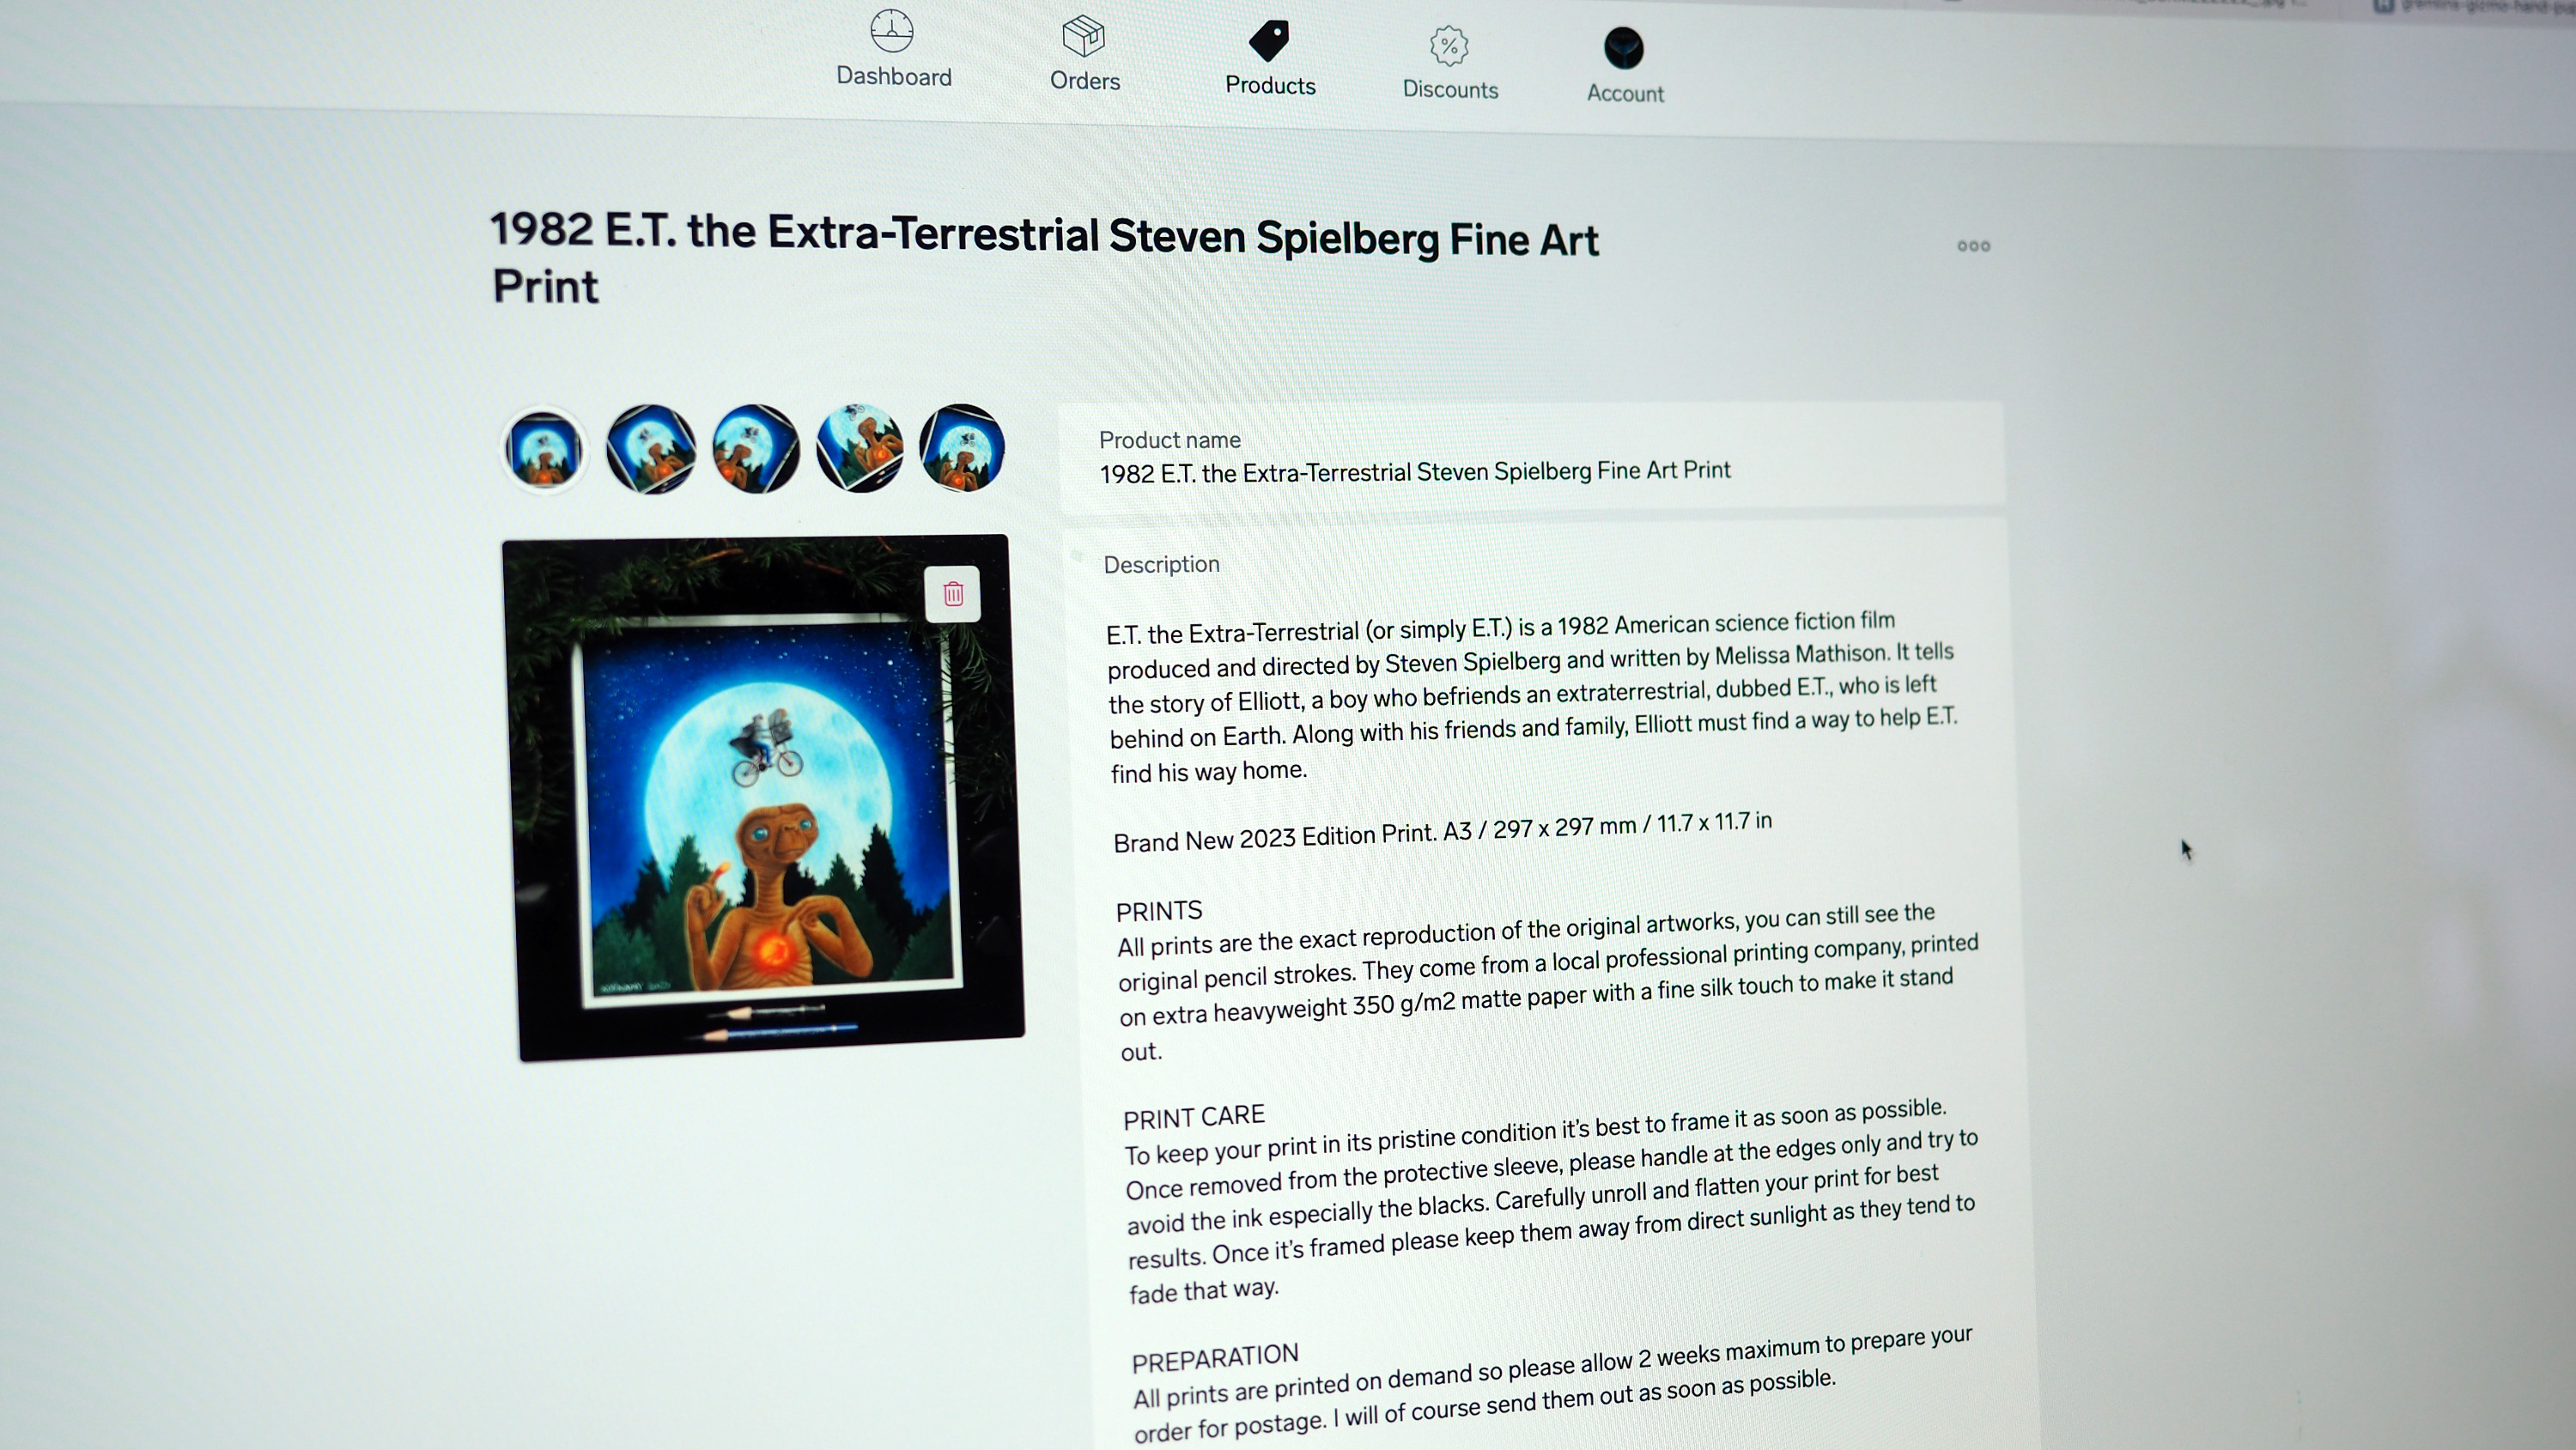
The ready product photos can now go onto my website with a little discription of the movie.
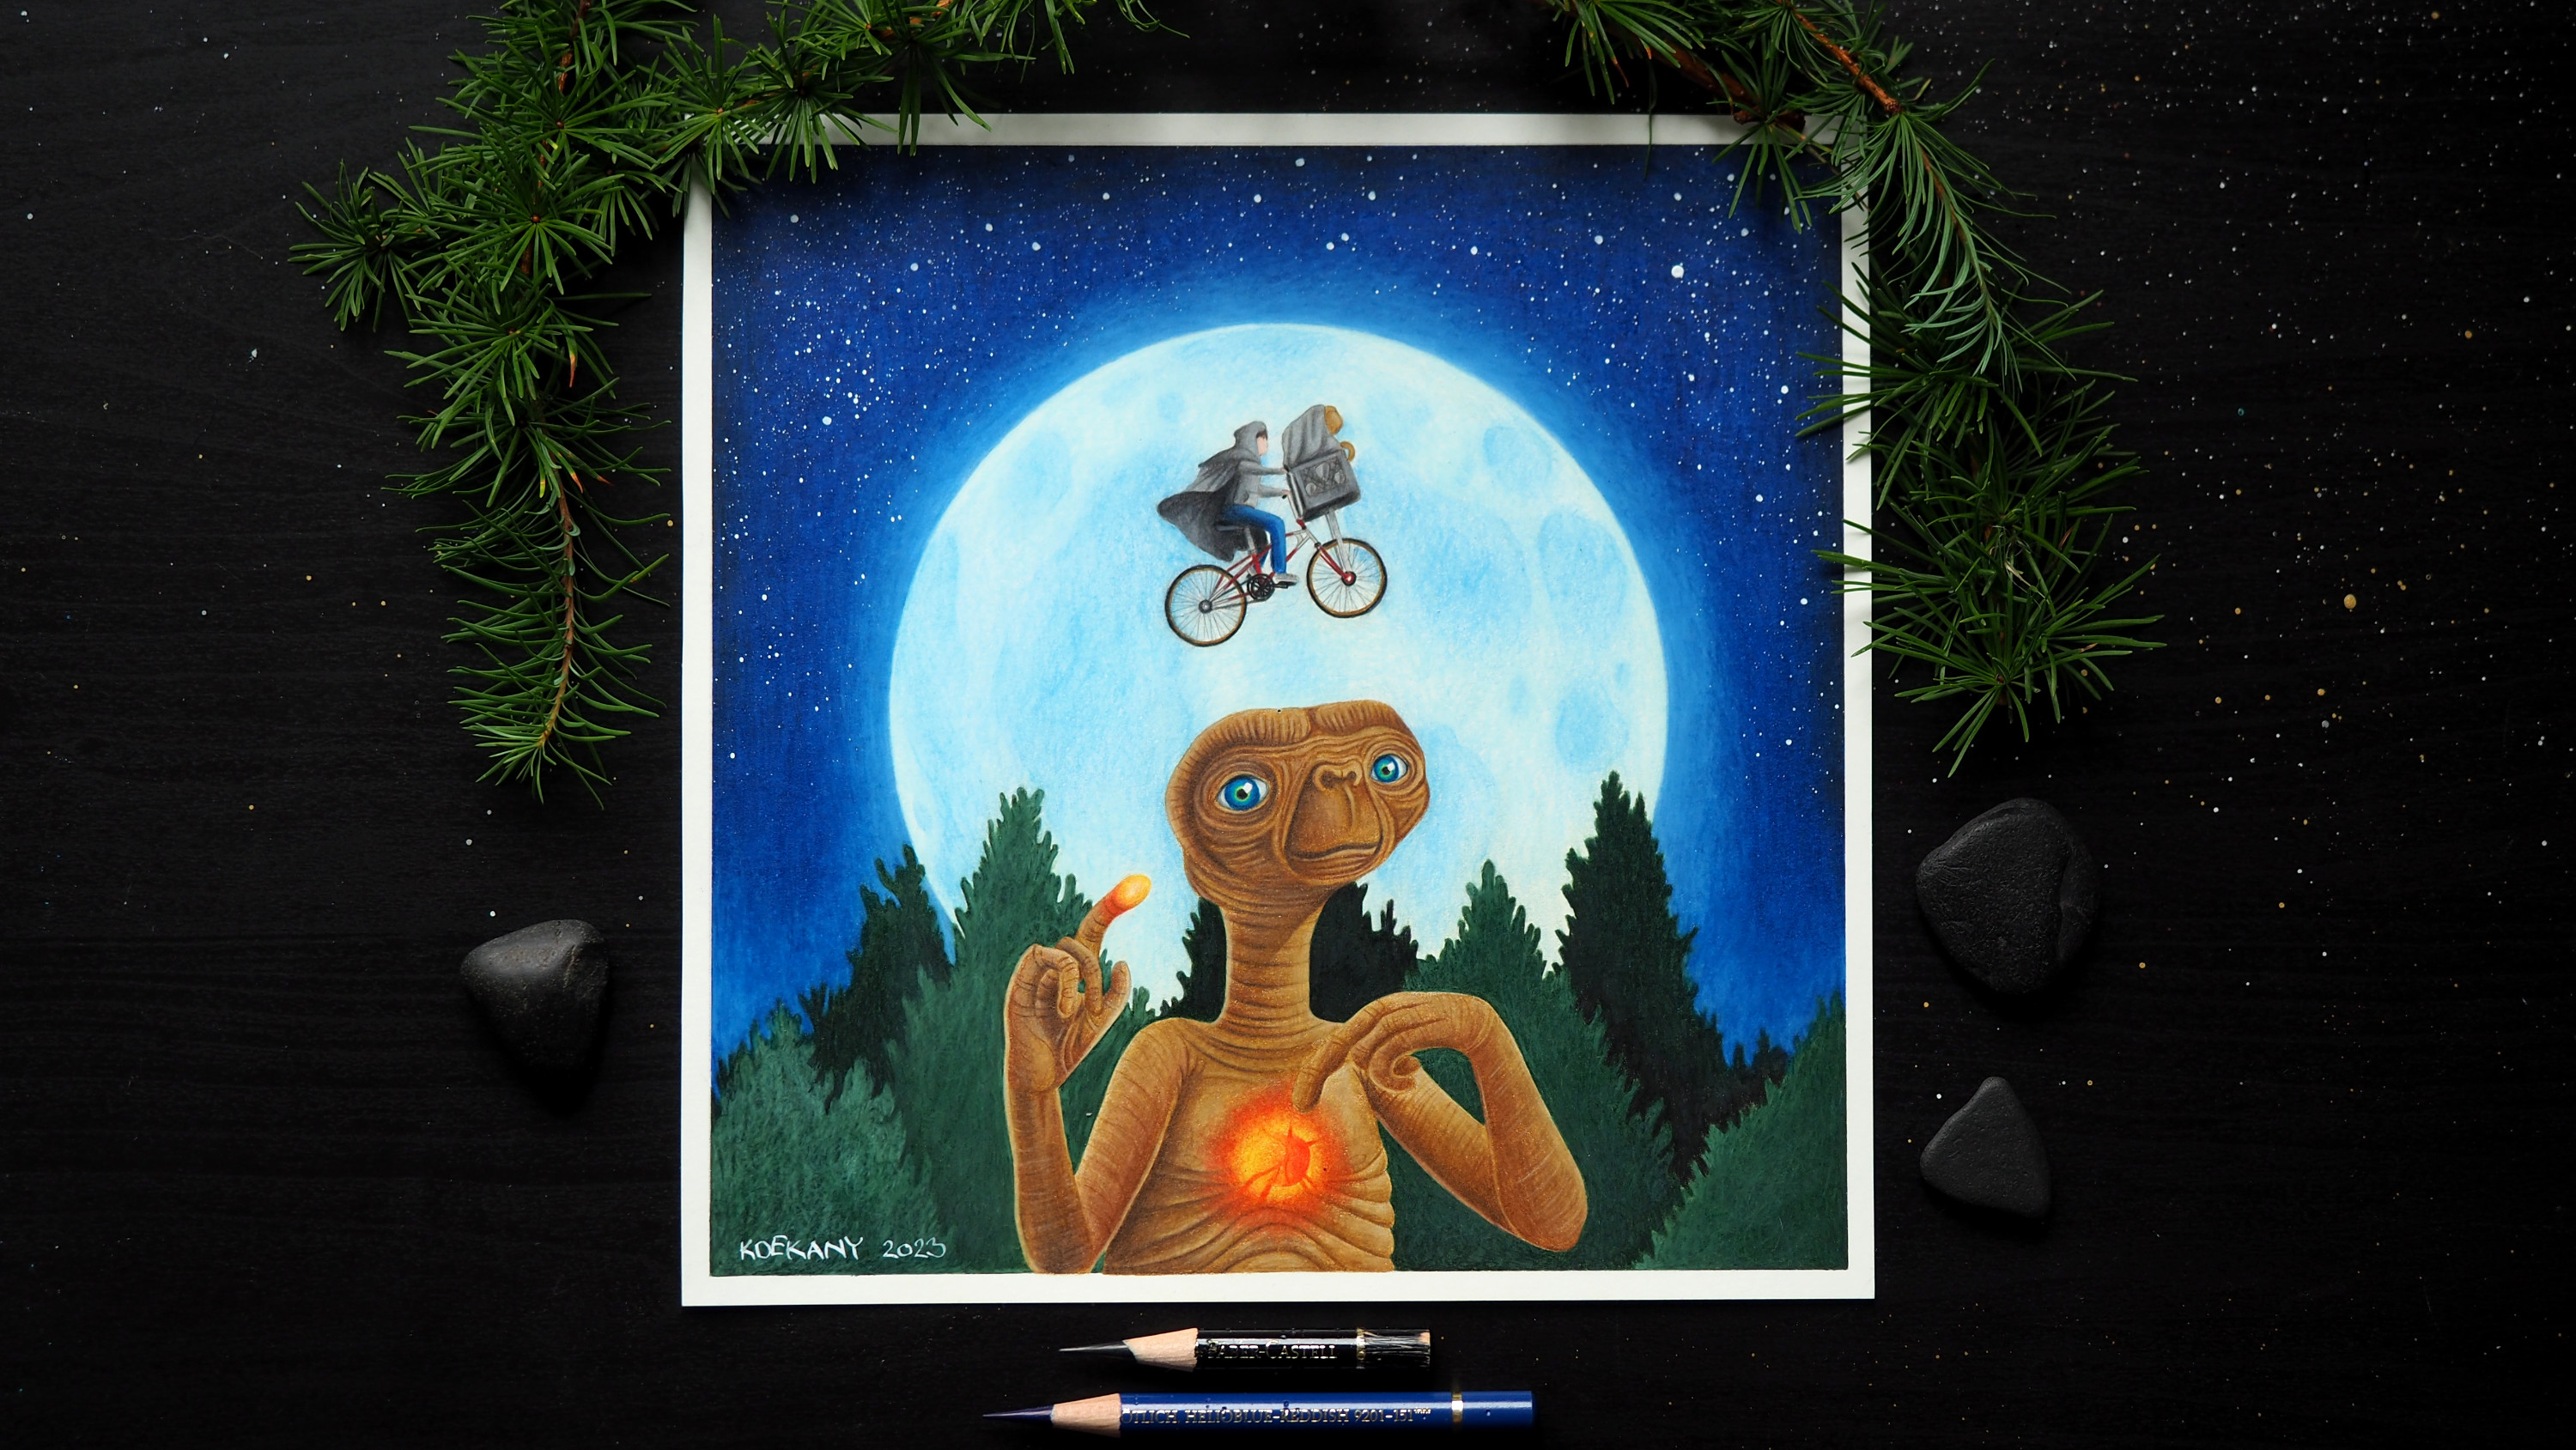
Over 3 weeks of working on E.T. start to finish and the entire art process is now done.
Thank you for reading this Blog!
11. Then a darker blue all around the sides and in the corners.
12. And finally the stars on the sky.
To make sure that no ink goes anywhere else, I cut out a piece of paper and covered all the areas of the drawings I wanted to protect.
An inside look into the sketchbook and all the tools around it. I need to know if a certain colour or shading will work so I will experitement in the sketchbook first, you don't want to ruin your actual drawing. I also love recording all the colours I use, some day I may need to know what blue I used for the sky or for E.T.'s eyes. Who knows, but it's recorded anyways.
Over 2 weeks of working on E.T. it is time for the finishing touches and the digital process.
I'm going to scan the original drawing in high resolution.
I will edit it and save it for print production.
Now I'm going to take some photos of my finished drawing. As for every photo I'm using decorations that will match the mood of the drawing. E.T. landed in a pine forest so I wanto to use a similar setting. We cut some fresh branches from the garden.
The product photos also need editing so I can upload them onto my webshop.
The ready product photos can now go onto my website with a little discription of the movie.
Over 3 weeks of working on E.T. start to finish and the entire art process is now done.
Thank you for reading this Blog!